Hyssop plants: the herb against snails in your own garden
Growing hyssop is not only worthwhile for use as a spice in the kitchen. Thanks to its intense smell, it also keeps pests at bay.

Hyssop is effective against pests [Photo: JPC-PROD / Shutterstock.com]
With its filigree flowers, hyssop also attracts many butterflies [Photo: Brian Plunkett – CC BY 2.0]
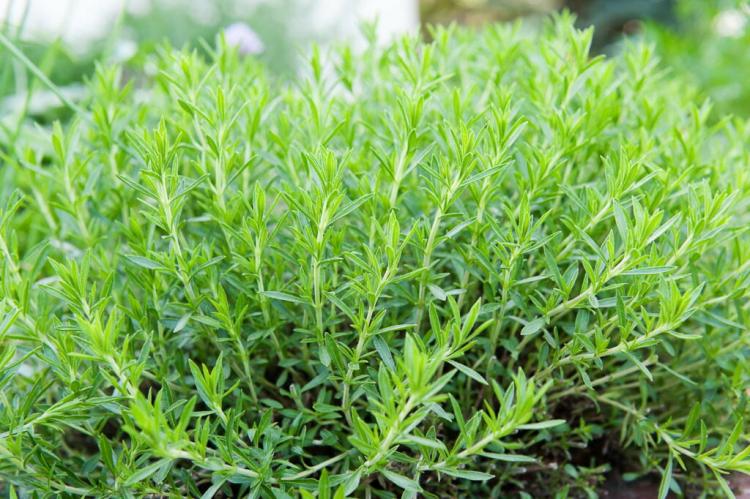
Hyssop ( Hyssopus officinalis ) is popular as a spice in sauces, dressings or to prepare various meat dishes. Due to its pronounced aroma intensity, hyssop should be used in rather small quantities. The spicy subshrub was once used as a medicinal plant. However, since hyssop can cause cramps in higher quantities due to its ingredients, the use of hyssop as a medicinal plant is a thing of the past. In addition to the spicy leaves, the ornamental flowers, which appear in a strong blue-violet from June to September, are also edible. The intense smell of the subshrub keeps away some pests such as aphids, some caterpillars or snails. So if you have problems with such unwanted guests, you can try to remedy the problem gently and ecologically by planting hyssop in the problem area. In the following, you will find out which little things have to be considered in the cultivation of the versatile but extremely easy-care hyssop.
Growing hyssop – step by step
1. Location:
If you can offer the hyssop a sunny location in a location that is as sheltered from the wind as possible, then this is a good foundation stone. The soil should also be as permeable as possible and not be prone to waterlogging. Otherwise, root fungi could quickly threaten hyssop. If there are only heavy, wet soils in the garden, this can either be loosened by working in sand or you can switch to cultivation in pots. This is also possible without any problems, but the planter should be selected large enough to offer the hyssop enough space to unfold. It is best to use a permeable herbal soil like our Plantura organic herb and seed soil for growing in pots.
2. Propagation:
There are various possibilities to multiply the hyssop for cultivation in your own garden. Of course, hyssop seeds can simply be bought and sown. Because the seedlings are sensitive to frost, they should not be sown outside before the beginning of May. In the house, the seeds can be spread earlier from March, so that young plants can be used for later planting out in the garden. If you want to propagate hyssop using cuttings, fresh, unwooded shoots about 5 cm in length can be removed in spring or early summer. It is an advantage if the cuttings do not yet have a flower or flower bud. A blossom would mean a high expenditure of energy to the detriment of the rooting of the shoots placed in the permeable substrate. The hyssop can also be easily propagated by lowering individual shoots and bringing them into contact with the soil. There roots are then formed on the shoot and the lowered branch of the hyssop can then be removed from the mother plant and transplanted.
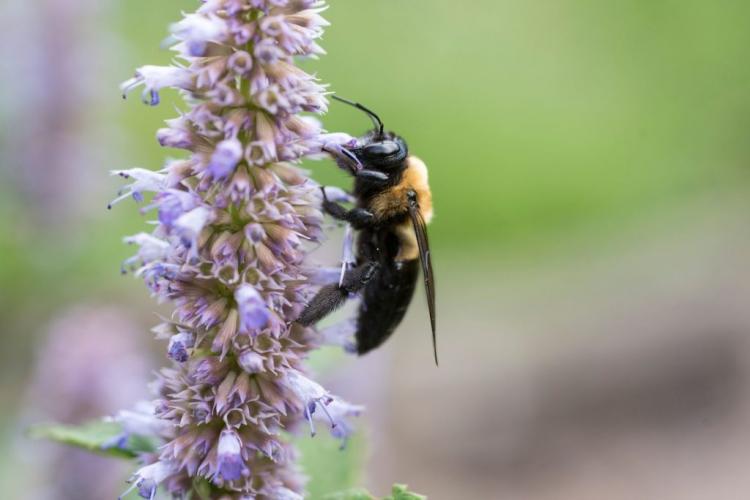
Many an insect is attracted to the flower [Photo: David McGlynn / Shutterstock.com]
3. Watering and fertilizing:
The hyssop can also adapt to an extremely dry location and cope with prolonged drought. When growing in beds, it is therefore usually not necessary to water the hyssop. If the perennial subshrub is grown in a pot, occasional watering may be necessary. However, less is more here, because hyssop doesn't like too wet or even waterlogged at all.
If a little organic material such as compost or, alternatively, a long-term organic fertilizer such as our Plantura organic universal fertilizer is hooked into the soil in spring, the hyssop's nutrient supply is ensured. When growing in pots, it is sufficient to re-fertilize with a complete nutrient fertilizer once or twice during the main growth phase up to the onset of flowering. Occasional repotting in fresh substrate also has an invigorating effect and refreshes the nutrient balance in the hyssop planter. It is advisable to repot every two to three years in the spring with the budding of the hyssop.
4. Cutting:
If the hyssop is not cut, it will gradually lose its shape. The shoots become long, become increasingly lignified from below and become bare. A lively branching of the subshrub then no longer takes place. However, the already lignified part of the hyssop must not be cut back. The hyssop does not have enough strength to sprout again from this part of the plant. A regular cut is an alternative. In order to avoid frost damage as a result of a cut in autumn, it is better to cut in spring before the hyssop sprouts again. The shoots are then shortened to just above the woody part of the plant.
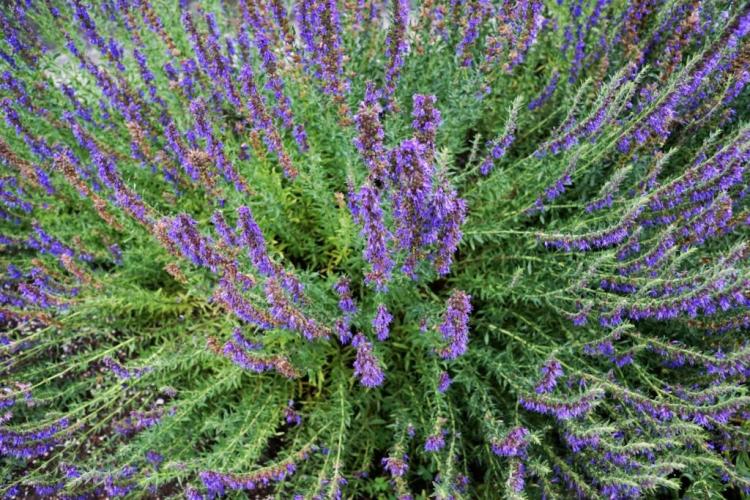
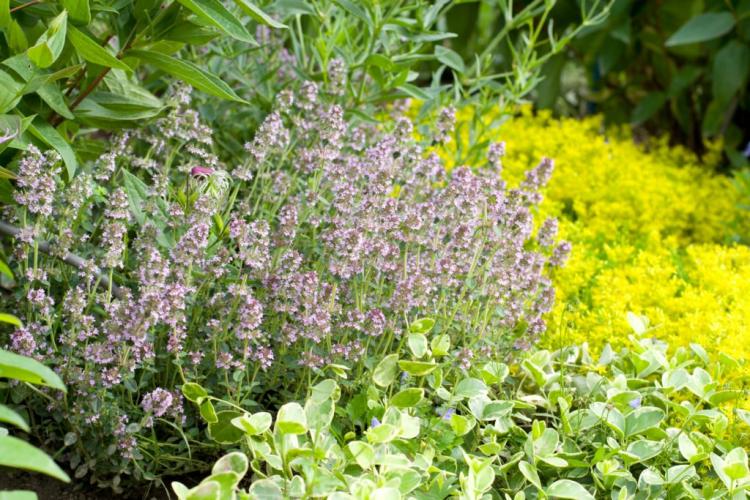
Hyssop forms a blue sea of flowers from June to September [Photo: ira008 / Shutterstock.com]
5. Overwinter:
Actually, winter is not a problem for hyssop. Nevertheless – and especially if a shaping autumn cut has been made – the hyssop should be covered protectively. Raisers, a thick layer of leaves or garden fleece are ideal for this. As daytime temperatures rise, the protective layer must be covered in early spring to prevent the formation of mold underneath.
6. Harvest:
Hyssop can be harvested all the time when the flavorful leaves are on the plant. These can be plucked individually or cut off as whole shoots. The harvest is most intense in aroma, provided it is done before flowering. But the intensely colored hyssop flowers are also edible. They make a great sideboard for all kinds of dishes.
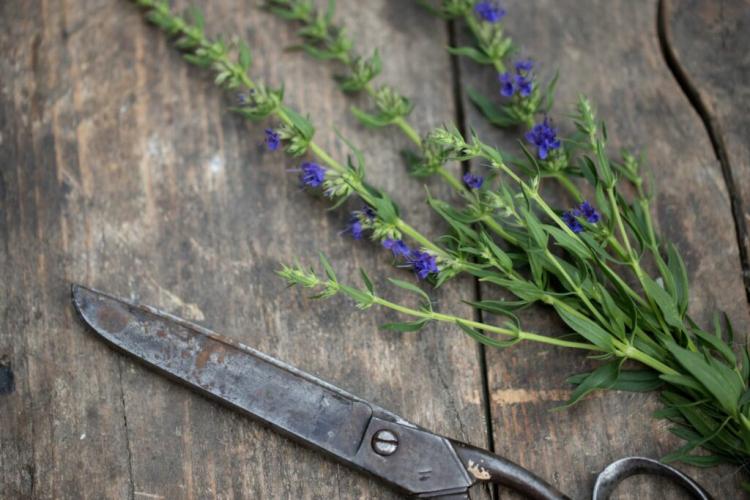
Hyssop should be harvested before flowering [Photo: Sarah Biesinger / Shutterstock.com]
7. Storage:
Hyssop is best used fresh from the harvest. However, so that the harvest can be consumed longer, different methods of storage are available. The spicy leaves can be dried either individually or while sitting on the shoots. You can also freeze it very well. The advantage here is that the loss of aroma is not so great compared to drying. Depending on your needs, the hyssop can also be removed from the freezer compartment in portions. Another way of preserving is to soak the shoots in oil or vinegar. The oil or vinegar then absorbs the hyssop's aroma and can be used for seasoning and cooking. However, if the shoots are not completely immersed in the liquid, the parts of the plant quickly begin to mold.
If you want to learn more about harvesting, storing and using hyssop, this article provides helpful tips.