10 Tips For The Perfect Raised Garden Beds
We show you ten tips for a perfect raised bed that will not only please your back.
Raised beds are probably one of the biggest gardening trends at the moment. No wonder, after all, the mini-gardens are easy on the back and knees. Gone are the days when you had to laboriously bend over or crawl through the bed – in a raised bed, even unpopular tasks such as pulling weeds can be done much more quickly. And not only that: raised beds also look good and turn an otherwise rather boring vegetable garden into a real eye-catcher. With these ten tips, we’ll show you how to build your own perfect raised bed.
Tip 10: Spoilt For Choice When It Comes To Material
Table of Contents
When choosing a material, there are thousands of possibilities. The most popular remains the raised bed made of wood, because this not only looks beautiful, but is also much faster in the construction, dismantling, or conversion than many other variants. However, wood rots very quickly in the moisture and becomes rotten. Therefore, when buying, you should pay attention to the choice of the right wood. Hardwoods such as larch are much more resistant to weathering. In addition, lining the bed with foil will protect it from moisture from the inside.
But other building materials also have their charms: concrete can be poured very precisely and in various shapes, and it is also particularly weather-resistant. Natural stones provide a very rustic appearance. In addition, you can plant the outer wall with rock garden plants, which will provide an additional effect. Metal raised beds are also becoming increasingly popular: they develop unique colorations over time due to weathering and can be very durable.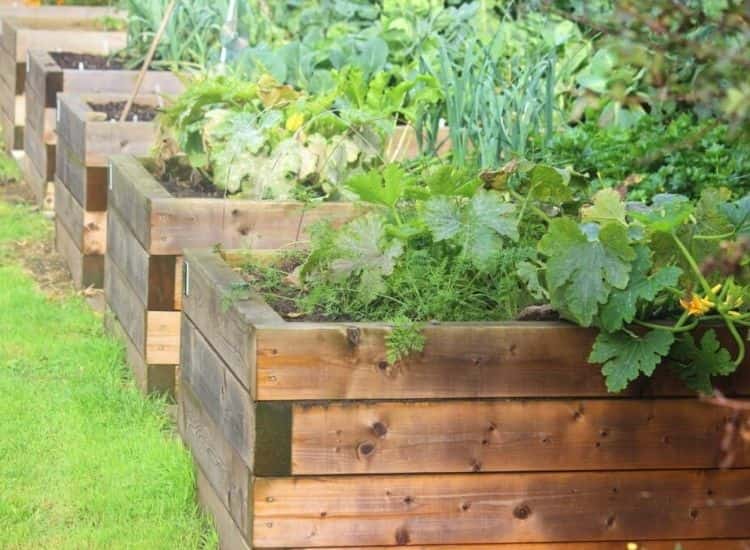
Tip 9: Bigger Equals Better?
Size is a crucial factor when planning a raised bed. The main deciding factors are the amount of space available and personal preference. Tall people prefer their beds to be a little taller; in a small allotment garden, the raised bed should not exceed the frame. However, the following values can be considered as rough guidelines: The height of the raised bed should be about up to your waist 27 – 39 inches (70 to 100 cm) so that you can really work back-friendly. The width of the bed should be about the length of your arm so that you can work without problems with the rearmost plant. With the length, however, there are no limits. Here, your taste alone decides.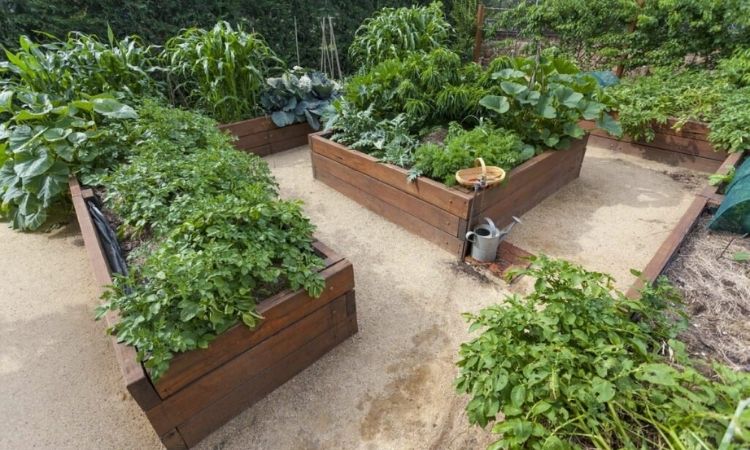
Tip 8: Layer By Layer
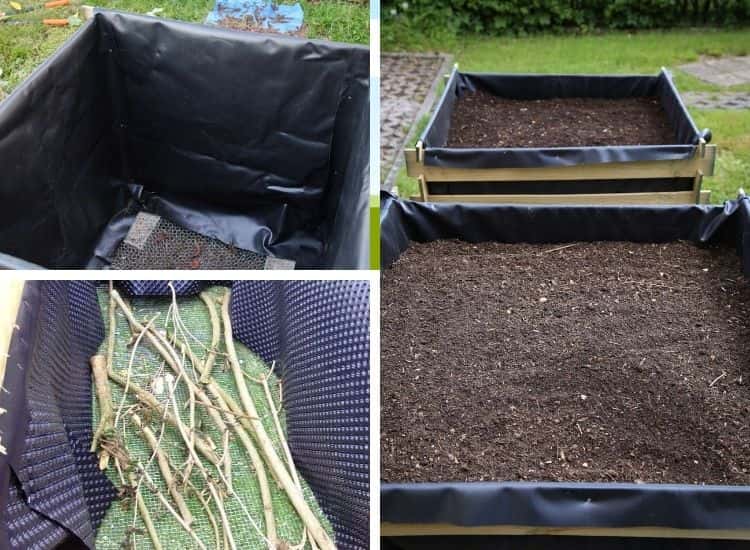
The foundation walls are in place, now it’s time for the right filling. But wait: In a raised bed should not be poured arbitrarily anything. To enjoy the bed for a long time, you should create different layers, each of which (except for the drainage layer) should occupy about a quarter of the bed height.
- On top of the soil should be a drainage layer, which minimizes the risk of waterlogging. A thin layer of gravel is quite sufficient for this purpose.
- On top of the gravel, a layer of coarse green cuttings is spread (twigs, branches).
- This is followed by a layer of finer green waste, for example, compost or leaves.
- Now comes a layer of garden soil
- Last comes a layer of planting, which is a mixture of compost and potting soil.
Tip 7: Snail Deterrent And Mice Minimization
Not only plants feel at home in a raised bed. Unwanted pests also find shelter here. But don’t worry: If you take a few precautionary measures, you won’t have to worry about the parasites later. A close-meshed wire between the soil and the raised bed protects against burrowing animals such as voles or moles. Slugs, which are particularly at home in salad beds, can also be avoided from the outset. A surrounding snail protection edge prevents the little gluttons from even finding their way to the plant and thus ensures a snail-free bed.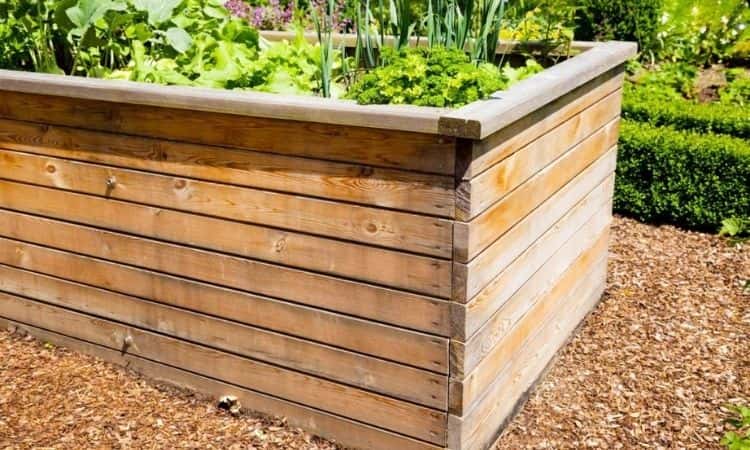
Tip 6: Built-In Heating
What many gardeners don’t even know: Raised beds are not only particularly easy on the back, they also have their own heat generation. Through the rotting processes of the various layers inside, energy is released and this warms the bed like its own heater. Therefore, many plants can be cultivated in the raised bed earlier than in a normal bed. Spring plants can thus move into the garden as early as the beginning of March. Nevertheless, you should protect the small plants overnight with a gardener’s fleece. Thus, the heat of the raised bed is accumulated and late cold snaps no longer have a chance.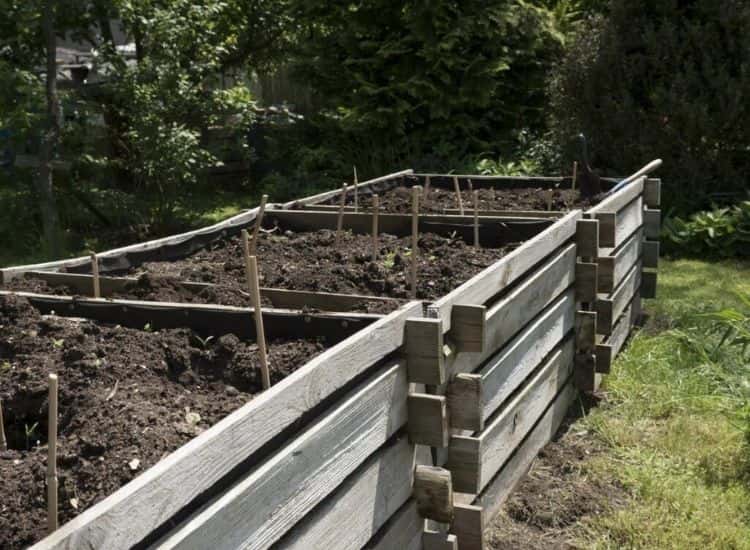
Tip 5: Water March!
It is also surprising that plants in raised beds need more water than in normal beds. The explanation is quite logical: In the raised bed, the heat is significantly higher due to the rotting processes. Therefore, much more water evaporates than in a normal bed. Therefore, the plants need replenishment much more often. But too much of a good thing is not optimal for the plants either, because even with optimal layering, too much water can lead to waterlogging. It is better to regularly check whether the bed still has enough moisture.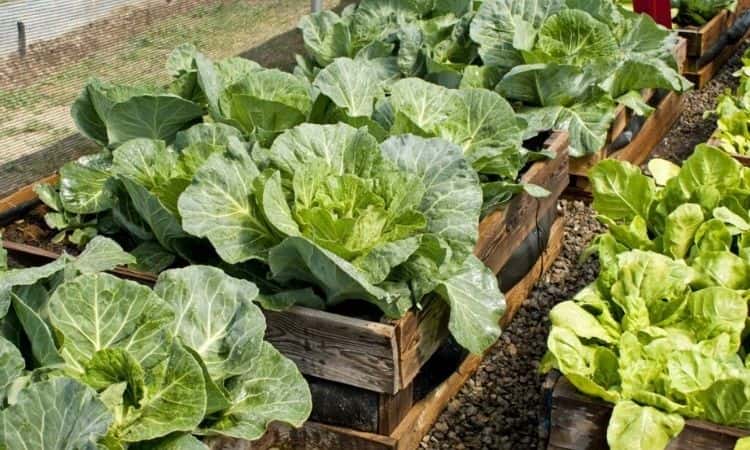
Tip 4: Raised Bed Or Cold Frame?
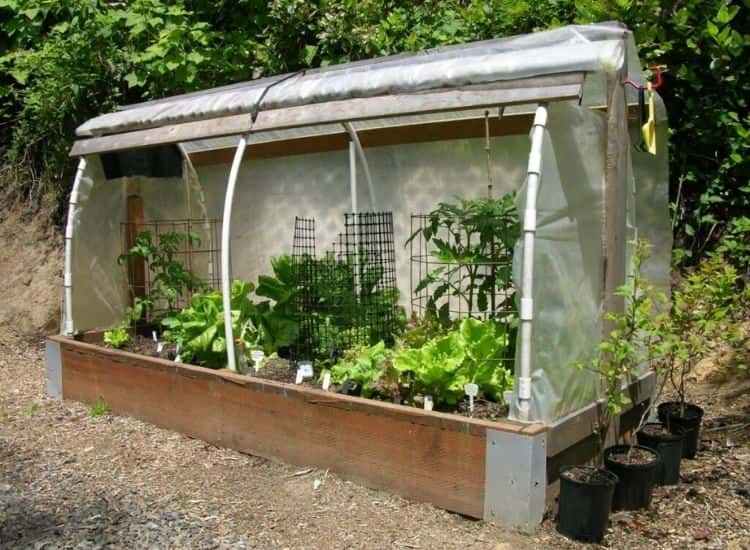
A simple but ingenious trick: If you have a bit of manual skill, you can easily turn your raised bed into a cold frame. An attachment made of Plexiglas or foil not only protects the plants from wind and weather but also collects the heat so that the young plants have it nice and cozy. If you are not so good with a hammer and nail, simply use a foil tunnel or special attachments offered by various raised bed manufacturers. However, be careful not to allow too much humidity to collect under the roofs. Otherwise, fungal diseases are favored. When the temperatures are finally warm enough, you can simply remove these tops and stow them away. This way you have a raised bed and a cold frame in one.
Tip 3: The Right Plants
Which plants fit into a raised bed? This question is actually very easy to answer. A classic raised bed contains a particularly large amount of nutrients, which is why strong growers such as cabbages, lettuce, or leeks are particularly suitable. However, almost all types of vegetables can also be grown in a raised bed without any problems. Particularly suitable are tomatoes, zucchini, but also strawberries. Mixed cultures of different varieties also cut a good figure in the raised bed. Weak growers such as Mediterranean herbs, on the other hand, should only be planted a few years after the raised bed has been created. Otherwise, the raised bed will still contain too many nutrients, which will not be so good for the plants.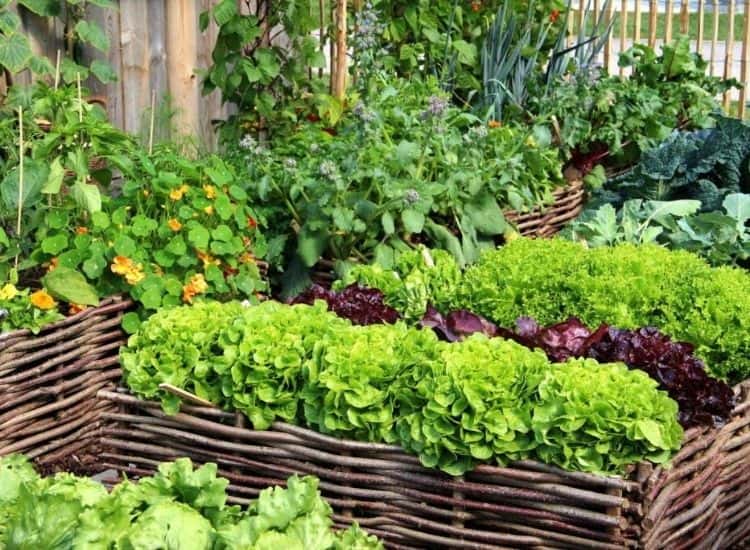
Tip 2: New Stratification With Age
In raised beds, further rotting processes occur with advancing age. Already in the first year, the soil can sink up to twenty centimeters. However, this can easily be refilled with normal plant soil. However, this layering effect is completely used up after five to seven years and it is time for something new. The used soil should be removed completely. At the same time, on this occasion, you can check the condition of the attached films and protective grids. After that, simply build a new layering system – and you can enjoy your raised bed again in peace for the next five to seven years.
Tip 1: Winter Protection
During the winter months (December to February), no more plants should be grown in the raised bed. Due to its exposed position and the “little” insulating soil, the bed cools down significantly faster than the normal garden bed.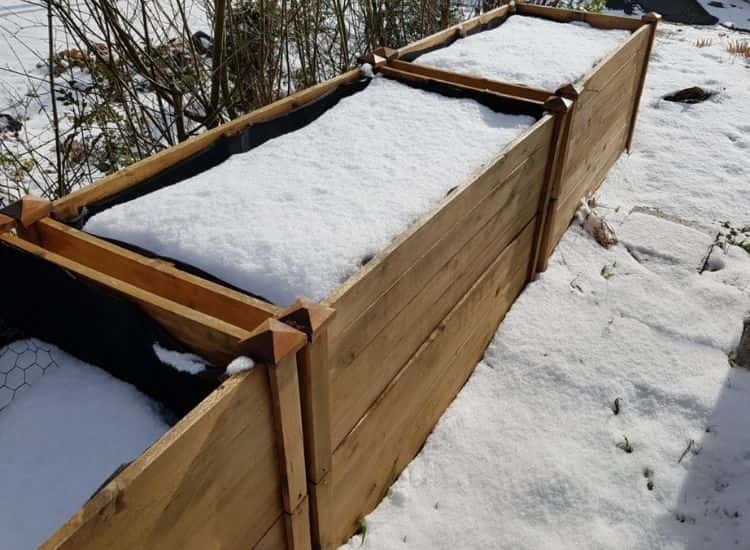
At most, perennial hardy plants such as herbs and perennials or winter vegetables such as kale are suitable for it. Furthermore, the bed should be covered with a film or tarpaulin: This prevents rain and snow from washing the important nutrients out of the soil. It is also worth taking advantage of the time over the winter months to introduce new nutrients into the upper planting layer with horn shavings or similar.
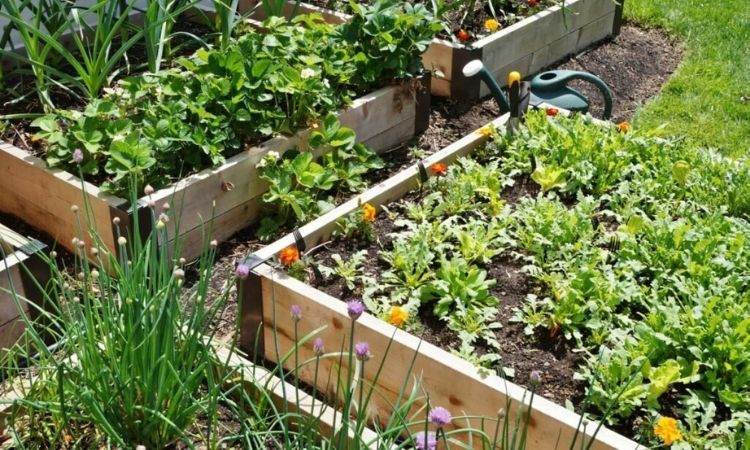





Old bookshelves make great raised beds. I’ve been able to find them in thrift stores and even at the side of the road. They provide a very cheap or free option. I grow my lettuce varieties and green onions in these beds. These are very old bookshelves and are made out of solid wood, not plastic or particle board. Look around, they work very well.
Won’t those bookshelves break down after a while tho?
Candy, probably but it’s an inexpensive start to your raised bed
Thats what I do. Specially for herbs 🌿 cooking great food with local herbs. Love it!