Pumpkin Harvesting & Storage: Tips on Harvest & Preservation
After cultivation, the question arises of how and when to harvest pumpkins. We’ll show you how to preserve pumpkins by freezing and pickling them.
The pumpkin ( Cucurbita ) is very popular in the garden and can be used in many ways. The annual pumpkin plants are very spreading and usually bring high yields. So that everything runs smoothly at the end of the season, the harvest and storage of the pumpkin are crucial. Over the winter months, the pumpkins can serve as Halloween decorations or, of course, be eaten. The tips below will help you harvest and store pumpkins properly.
In the following, you will find out everything about the right time to harvest the pumpkin and we will show you why it can be worthwhile to let the pumpkin ripen after the harvest.
Harvesting the pumpkin: when is harvest time?
Table of Contents
Depending on the variety, the time of planting and the weather, the harvest time is in late summer and into autumn. Ripening begins in mid-August at the earliest, but most pumpkins are harvested from September to October. In any case, it should be harvested before the first frosts. To tell if a pumpkin is ripe for harvest, one should look for these signs.
What characteristics show that the pumpkin is ripe?
- Intense fruit coloring, easy to recognize especially in orange-red varieties such as Hokkaido
- Woody and dry handle
- The leaves die off
- It is not possible to scratch the shell with a fingernail
- Hollow sound when knocking the fruit (does not apply to all types!)
If all the signs are correct, the pumpkin can be harvested. It is best to use a sharp knife and cut it off by the handle. Make sure that the pumpkin is not damaged during harvest so that it can ripen and be stored later. In dry weather it makes sense to let the pumpkin dry outside for a few days.
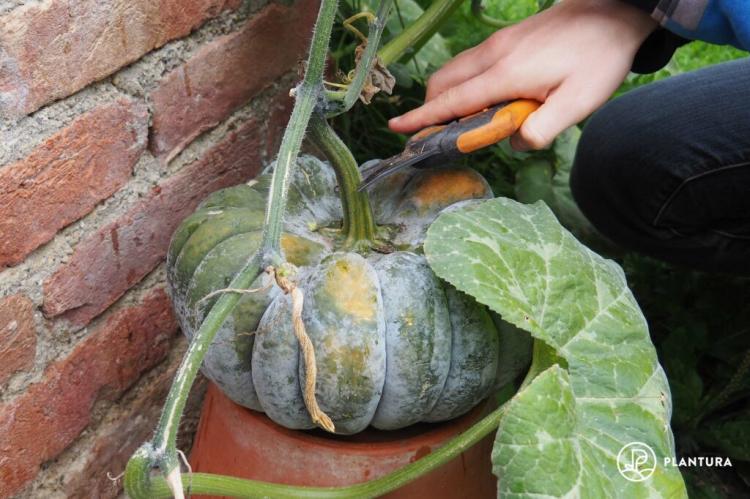
Harvesting is done with a sharp knife or scissors, as with this nutmeg pumpkin ‘Mini Musk’
Let the pumpkin ripen
After the harvest, most of the cultivation is done – the pumpkin can now be eaten or otherwise processed. However, it is better to let it ripen for a while. The reason for this is that the taste improves as it ripens. In addition, the germination capacity of the pumpkin seeds increases and these can easily be reused for sowing in the next year. The stalk also dries out as it ripens: This means that the fruit is better protected against infections and can be stored for longer.
A light and dry place is recommended for the subsequent ripening of pumpkins. Pumpkins should ideally stay there at 20 ° C for about three weeks. Care should also be taken to ensure that they are placed on a dry surface such as wood or cardboard and that they are turned over regularly. After this process, the taste of the pumpkin improves and it can be processed well in the kitchen.
Tip : In order for the pumpkin plant to bring a rich harvest, the nutrient supply of the plant is particularly important. If you supply your pumpkin plant with an organic fertilizer such as our Plantura organic tomato fertilizer with organic long-term effects, you will later be rewarded with a rich harvest with a great taste.
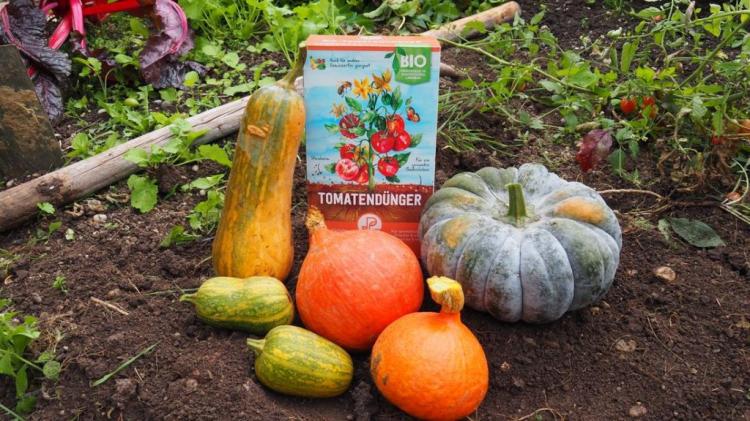
Our Plantura organic tomato fertilizer provides the pumpkin with all the important nutrients and thus ensures a rich harvest
Store and preserve the pumpkin
With a good harvest, there may well be more of the vegetables left than can be used for eating or carving pumpkins. The great thing about the pumpkin: If stored correctly, it can be kept for months. The following tips and methods will help to store the pumpkin over the winter.
Store the pumpkin properly
With the right storage and the appropriate pumpkin variety, the vegetables can be stored for up to six months. A dry and dark location where the temperature is not too high is recommended for storing the pumpkin. Ideally this is 12-15 ° C. Temperatures below this can damage the pumpkin, as the fruit will rot more quickly. Temperatures above 15 ° C, on the other hand, have a long-term negative effect on the taste.
It is also particularly important that an airy place is chosen, because too high humidity can lead to the formation of condensation on the shell, which in turn favors rot. Nets or wooden boxes are suitable for storing pumpkins. As with post-maturing, it is important that there are no pressure points.
How are pumpkins properly stored?
- Dry and dark storage location (e.g. cellar)
- Temperature between 12 and 15 ° C
- Airy space (e.g. net or wooden box)
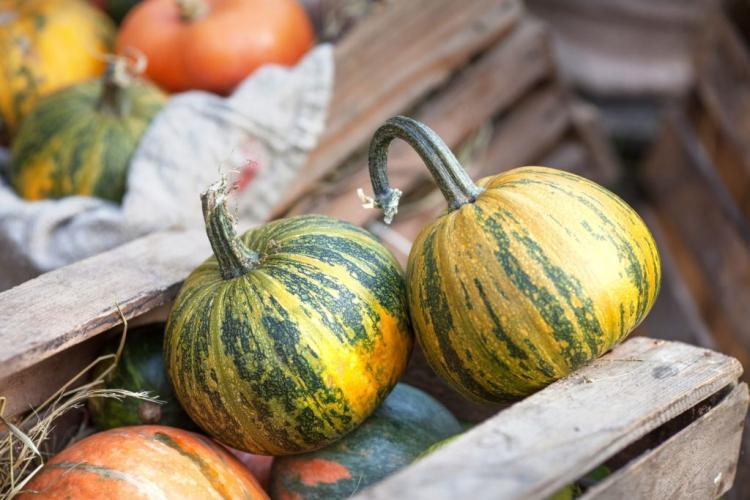
Wooden boxes are ideal for storage [Photo: Liudmila Fadzeyeva / Shutterstock.com]
Preserve pumpkin
In addition to the classic storage in a cool place, there is also the option of making the pumpkin durable for longer periods of time. To do this, the harvest is frozen, boiled down, pickled or dried. You can find out how the individual methods work below.
Freeze the pumpkin
Freezing pumpkin is a wonderful way to store it for an extended period of time. This means it can be kept for 4 to 6 months and can be used for cooking as required. The advantage: you can also take smaller portions thanks to the freezing. There are several ways to freeze pumpkins. Depending on the intended use, you either cut individual pieces into small pieces or freeze the pumpkin as a puree.
If the pumpkin is to be sautéed or baked for cooking, freezing raw pieces makes the most sense. To do this, the pumpkin is cut into pieces and the stem and pumpkin seeds are removed. These can also be sautéed or used for sowing next year. Hokkaido pumpkins are the only pumpkins whose skin is also eaten. With this type of pumpkin, the peel can stay on, with all others, the pumpkin must be peeled beforehand. After cutting, the sliced pumpkin is placed in a suitable container and placed in the freezer.
If you want to use the pumpkin as a soup later, you can puree it beforehand. The pumpkin is hollowed out beforehand and the seeds and the stem are removed. Depending on the variety, the peel must also be removed. Then the pumpkin is steamed in a saucepan with a little water for about 20 minutes and then pureed. The finished must can now be filled into containers and frozen. This method allows the soup to be prepared quickly if necessary.
Reduce the pumpkin
In addition to freezing the pumpkin, jar preserving is also a good way to store the pumpkin in small portions. The boiling down is quite uncomplicated and you can fall back on the pickled pumpkin for a very long time.
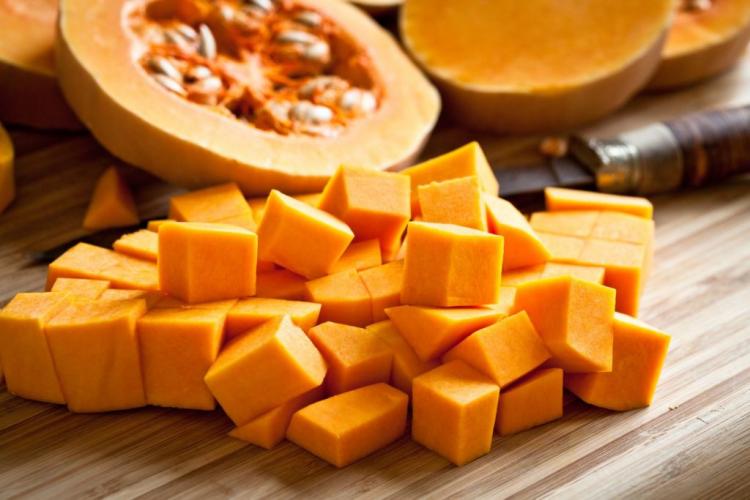
The pumpkin cubes can be put into preserving jars for preservation [Photo: ORLIO / Shutterstock.com]
The following instructions for boiling refer to about 1 kg of pumpkin, which is roughly the same as a medium-sized Hokkaido pumpkin. Depending on the amount of pumpkin, the other ingredients must also be adjusted.
How is pumpkin cooked properly?
- Wash the preserving jars thoroughly with washing-up liquid and briefly boil them in hot water (it is important that the jars are undamaged and tight).
- Hollow out the pumpkin, remove the stem and pumpkin seeds. Peel the pumpkin (exception is the Hokkaido pumpkin). Then cut into cubes.
- Heat 500 ml of water with a little vinegar and a pinch of salt.
- Pour the pumpkin cubes into the clean mason jars. Depending on your taste, you can add spices such as bay leaves, mustard, cinnamon or chilli to the glass. The pumpkin pieces can be pressed lightly.
- Fill the mixture of water, vinegar and salt in the glass with the pumpkin pieces almost to the top.
- The jars are now closed and cooked in the oven at 200 ° C for about half an hour. The glasses should stand in a water bath a few centimeters high.
- After boiling, turn off the oven and let the jars stand in it for a few hours to cool.
At the end the pumpkin is completely boiled down and can be kept in a dark and cool place for several years.
Pickle the pumpkin
Pickling the pumpkin is even faster than boiling it down. But it doesn’t last that long. A popular preparation is sweet and sour pickled pumpkin.
For 1 kg of pumpkin you will need:
- 200 ml of water
- 250 ml white wine vinegar
- 250 grams of sugar
- 4-5 cloves
- 2 chili peppers
- 2 sticks of cinnamon
- Grated lemon peel
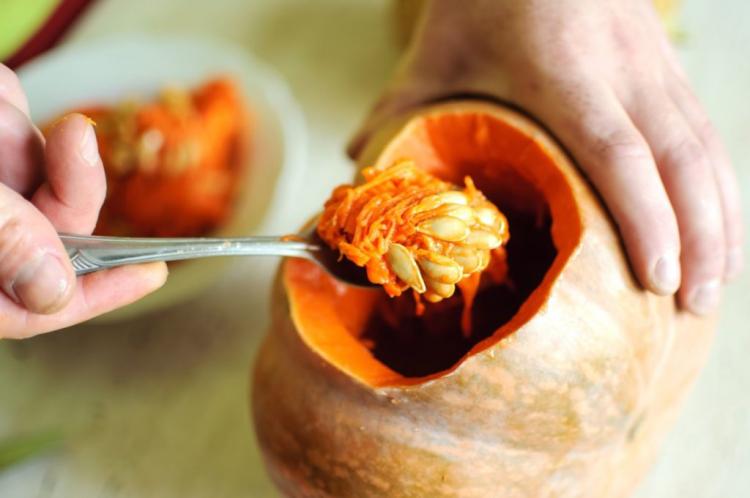
First of all, the pumpkin has to be hollowed out [Photo: danshanin / Shutterstock.com]
All ingredients except the pumpkin are first boiled together in a saucepan. The pumpkin is peeled (except for the Hokkaido pumpkin), hollowed out, pitted and cut into cubes. The pumpkin pieces are added to the boiling stock and cooked for a few minutes. Then the pumpkin cubes are skimmed off and poured into canning jars that have been boiled beforehand. Finally the hot brew is poured over the pumpkin and the lid is closed. The pumpkin can also be seasoned with other ingredients if you like.
Drying the pumpkin
Everyone has probably had this experience before: You carve out a Halloween pumpkin and use it as a creepy decoration – but unfortunately after a few days the pumpkin is already rotten and collapsing. To avoid exactly that, it is worth drying the pumpkin. Larger pumpkins as well as ornamental pumpkins are ideal for this.
You should take your time to dry a pumpkin. It can take 6 to 12 months before that happens. So that there is no infection by fungi or bacteria, especially at the beginning, the pumpkin should be carefully washed with warm soapy water. Then you should rinse it briefly with normal water and dry it with a towel. Then the actual drying begins. To do this, the pumpkin is placed outside in a cool and dry place, preferably with a high level of air circulation.
To avoid pressure points, the pumpkin should be turned over from time to time. It is also important to ensure that rotten areas are carefully scraped off. With these instructions and a little luck, the pumpkin drying will go well and next year the Halloween pumpkins will keep much longer as a decoration. Depending on the size of the pumpkin, drying can take 6 months to a year.
In addition to the well-known Halloween pumpkin, there are numerous other, partly edible, partly poisonous types of pumpkin. We introduce you to the variety of pumpkins in this overview.

