Jerusalem artichoke plants: timing and location
Jerusalem artichoke is a versatile plant and a close relative of the sunflower. We’ll tell you how you can grow the Jerusalem artichoke tuber yourself.
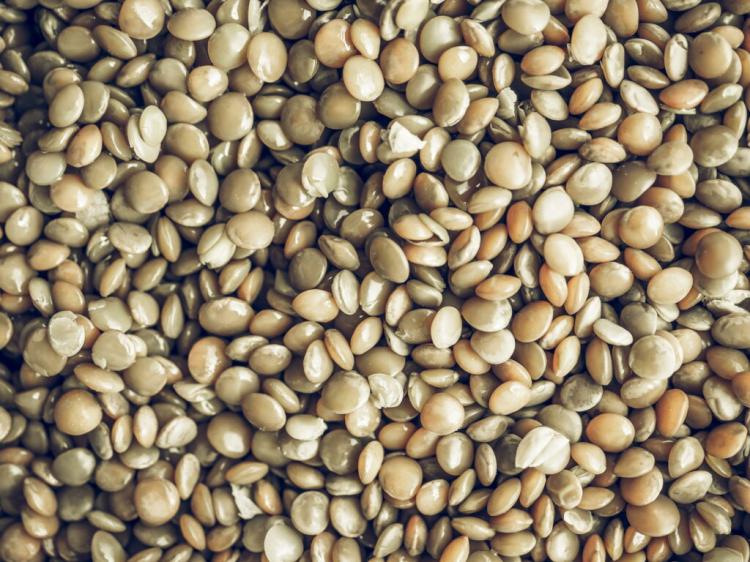
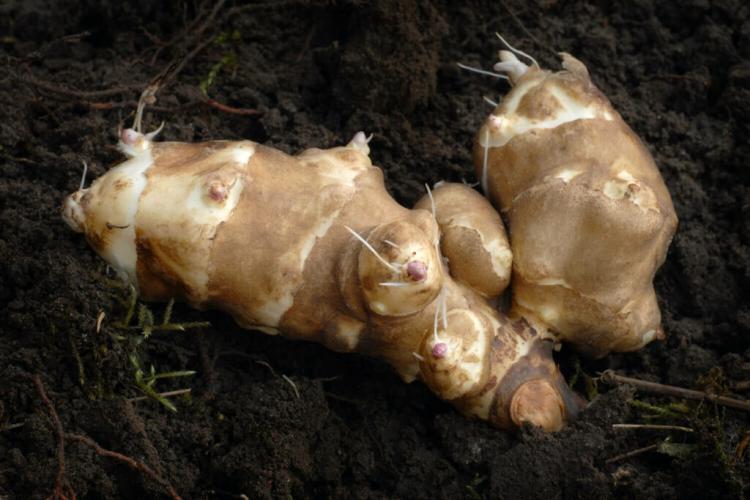
In the 17th century Jerusalem artichoke ( Helianthus tuberosus ), also called Jerusalem artichoke or earth pear, arrived by sea from South America to Europe. Initially, the brown or red tuber, which tastes a bit like the artichoke ( Cynara scolymus ), was reserved for the rich and aristocratic. Later, however, it spread increasingly among the people and was an important staple food for a long time.
Over time, however, the potato ( Solanum tuberosum ) replaced the fiber-rich tuber and thus Jerusalem artichoke was forgotten until it was used as fodder. For some time now, Jerusalem artichoke has been back in fashion and is again being grown by hobby gardeners. But when do you plant Jerusalem artichokes? And what do you have to consider? We explain step by step how you can grow and cultivate Jerusalem artichokes in the garden yourself.
Planting Jerusalem artichokes: when is the best time?
Table of Contents
The best time to plant Jerusalem artichokes is in spring between the beginning of April and mid-May. Alternatively, the Jerusalem artichoke tubers can be planted in autumn, between late September and early November. The plants do not sprout until the next spring, however, a little earlier than the tubers that were planted from April to May. In contrast to potatoes, Jerusalem artichokes are hardy and can therefore be planted at various times and overwintered outdoors.
Growing Jerusalem artichokes: location and soil requirements
Jerusalem artichoke makes no great demands on its location. The tuber thrives best on lighter, loamy-sandy soils, which can maintain the soil moisture after rain or watering. The perennial has a fairly high water requirement and needs a good supply of water for tuber formation. On waterlogged soils, Jerusalem artichokes may grow sparingly or not at all.
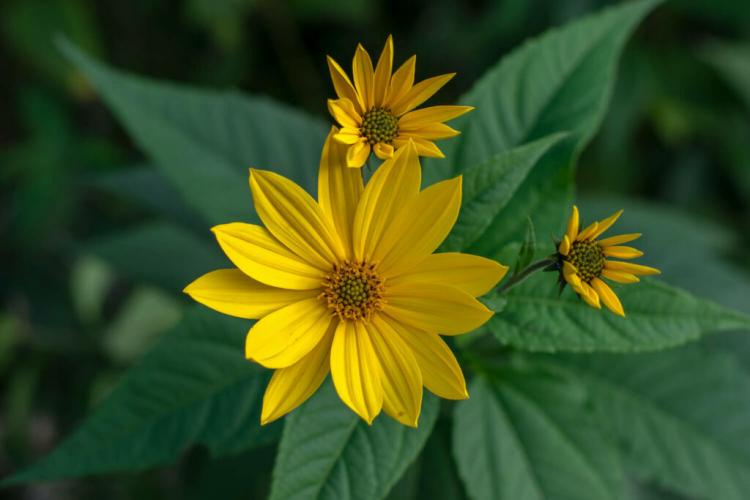
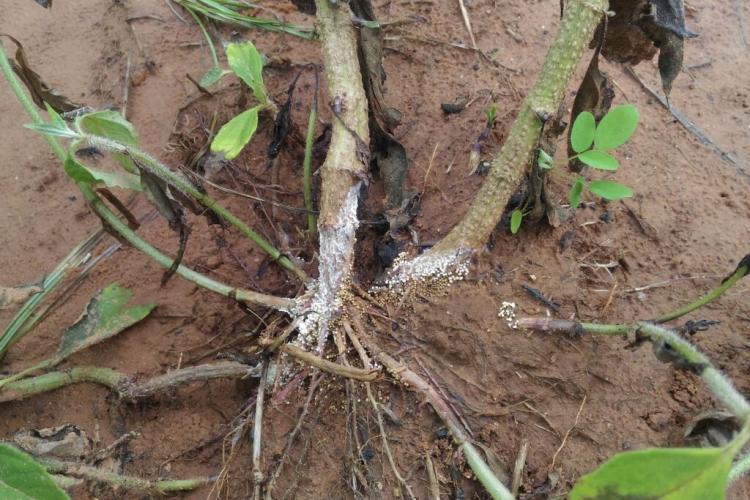
The sunflower-like plant prefers places with high light intensity, but the Jerusalem artichoke also tolerates partial shade well. The better the location is adapted to the needs of Jerusalem artichoke, the higher the yields of the tasty tubers. Jerusalem artichoke can always be planted in the crop rotation, but it should not be planted after sunflowers or after itself, as in this case root diseases occur more often and stay longer in the soil.
As in any mixed culture, there are good neighbors with Jerusalem artichokes and those that should be avoided. The tubers get along well with climbing cucumbers ( Cucumis sativus ) and French beans ( Phaseolus vulgaris ). On the other hand, Jerusalem artichokes should not be cultivated next to potatoes, because the two plants compete underground.
Tip: Jerusalem artichoke is particularly suitable as a privacy screen, as it can reach a height of over 3 meters depending on the variety. The plants should, however, be protected from the wind or be tied up, as thunderstorms and squalls can easily break off the rigid side branches and sometimes knock over entire plants.
Planting Jerusalem artichokes
Only healthy, whole tubers should be used when planting Jerusalem artichoke. Jerusalem artichokes can indeed be grown from seeds, but growing with the rhizome tubers is much better, faster, and easier. Jerusalem artichoke seeds are therefore hardly available in stores and only very few varieties ripen so that it is difficult to obtain them yourself.
You might so like: Growing Marjoram: At Home In The Garden And Balcony
Planting Jerusalem artichoke tubers: step-by-step instructions
- Before planting, the tubers are propelled on a plate of water on the light-colored windowsill for a few days. Fine roots then quickly form on the Jerusalem artichoke, which later accelerates the growth. In many nurseries, you can already get young plants with several shoots.
- Now the soil is loosened up deeply and stones are removed. On nutrient-poor locations or very heavy soils, some ripe compost should be incorporated before planting.
- The tubers are planted about 30 to 40 cm apart and about 10 to 15 cm deep. Leave a distance of 70 to 80 cm between the rows. If there are already sprouts, the young Jerusalem artichoke plant is carefully buried at the specified planting depth, whereby the green shoots are naturally exposed.
- After the Jerusalem artichoke tubers have set, the soil should be lightly pressed and watered vigorously.
- When the first shoots have formed, the earth can be piled up around them. This can lead to the formation of more tubers because the heaped soil warms up faster and also offers more space for the formation of more tubers.
Note: A root barrier for Jerusalem artichoke is useful, especially if not all the tubers are always harvested, but many remain in the ground. From every tuber, no matter how small, new shoots emerge in all directions, the plant really sprawls and spreads quickly. A rhizome barrier for Jerusalem artichoke is therefore recommended here.
Plant Jerusalem artichokes in a pot
If you don’t have your own garden but have a sunny balcony, you can alternatively plant Jerusalem artichoke in a pot. You should make sure that the bucket is big and deep enough and contains enough soil for the tubers to form. Large window boxes are also suitable if you use dwarf varieties. There are special, low-growing Jerusalem artichokes that are particularly suitable for growing on balconies and patios.
Jerusalem artichoke can also be cultivated in this way in raised beds. To do this, first, fill the planter generously with pre-fertilized potting soil. It already contains important nutrients for Jerusalem artichoke such as potassium and thus supplies the tubers for the first time after planting. The tubers are now placed individually in the earth, lightly pressed, and covered with about 15 cm of earth.
You might so like: Parsnips: everything to grow in the garden
In the pot, Jerusalem artichoke must be watered well not only after planting, but regularly so that tubers form. However, there must be good water drainage so that no waterlogging occurs. After sprouting, a little more soil is piled up and, at best, regularly fertilized organically, the easiest way is with a liquid fertilizer.
Tip: Flowers are not relevant for the formation of tubers, they can easily be removed and then serve as decorative cut flowers. In fact, blossomless Jerusalem artichoke plants may produce more tubers because they do not put any energy into flower development.