Growing Physalis: Expert Tips On Location And Sowing
Healthy physalis can also be cultivated with us. Everything you should know about growing physalis in your own garden can be found here.
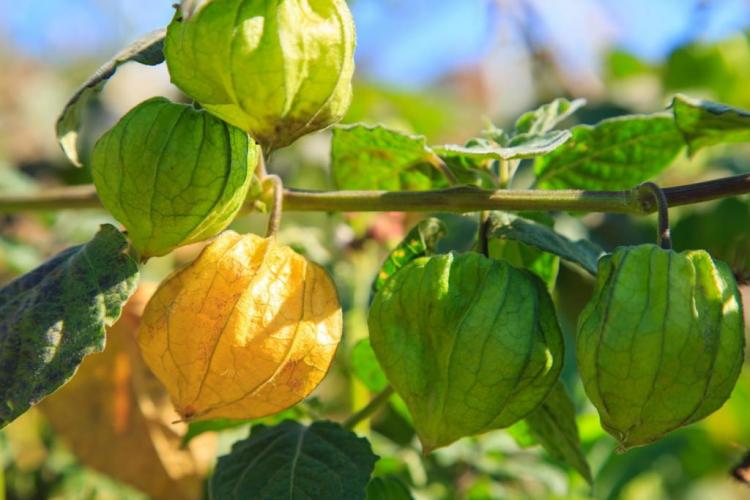
The physalis ( Physalis peruviana ) or Cape gooseberry is becoming more and more popular in this country. This is not only due to their beautiful appearance, but also to the great taste of the fruits and the easy conditions for successful cultivation. Here we will show you how the physalis is planted correctly and what you should pay particular attention to.
The physalis not only resembles its relatives the tomato ( Solanum Lycopersicum ), which is also a nightshade family (Solanaceae). They also have similar requirements in terms of location, requirements, and cultivation. With a little luck and the following instructions, you will have many years of pleasure from your Cape gooseberries.
Growing physalis: the right location
Table of Contents
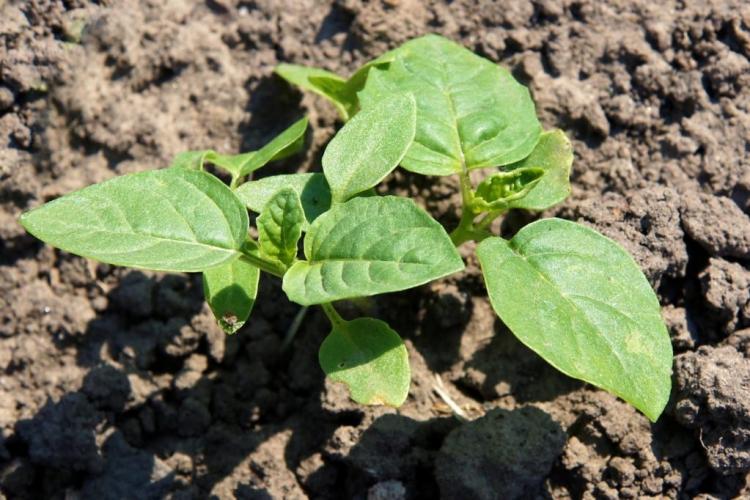
The physalis can adapt to most types of soil – it grows almost anywhere. For your plant to produce a lot of fruit, however, you should not put it in freshly fertilized soil. In soil with excessive nutrient content, it tends to only grow vegetatively and hardly develop flowers and fruits. The best results can be achieved in more sandy and normal garden soils. However, the soil should always be sufficiently moist, as, with the tomato, it is necessary to reach for the garden hose from time to time. Cape gooseberries are true sun worshipers, so in partial shade they are not very blooming and therefore hardly bear any fruit.
Tip: When choosing a location, make sure there is good air circulation: the plants should not grow too close together and not in stagnant air. Otherwise it is easy to infest with fungal diseases or pests such as whitefly or thrips.
When to grow physalis
The planting time depends primarily on the type of planting. With the Physalis you have the following three options:
- Either you sow the seeds of the plant in seed boxes from February and plant them outdoors in mid-May,
- You use cuttings from the previous year, which are planted out in mid-May, or
- Ready-made potted plants are obtained from a nursery in mid-May.
Since the Physalis is not frost-hardy, you should make sure not to plant the plant out until the last frost has passed. This is mostly the case after the ice saints (mid-May).
Growing physalis in pots or beds?
Whether it is grown in a pot or a bed depends primarily on whether you want to use the plant as an annual or perennial. For annual crops, it is easier to grow the plants in a bed and leave them in that location all year round. After the harvest, it is then a good idea to cut cuttings from the best plants in order to continue the successful cultivation in the next year.
You might so like: Harvesting Rhubarb: When Is Harvest Time And How To Do It?
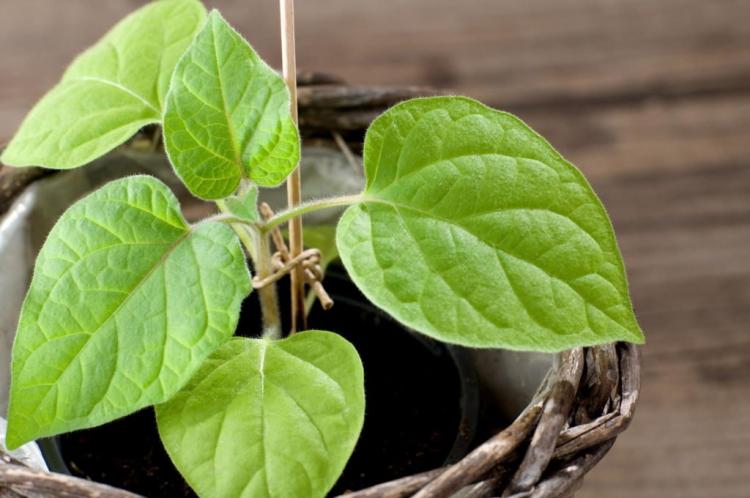
If you plan to overwinter your plants, it is worthwhile to put them in pots right away to avoid digging in and out. It is important that the selected pot has holes to drain off excess water because the Physalis does not tolerate waterlogging well. The size of the pot should be chosen so that it has a diameter of at least 30 centimeters and a depth of 50 centimeters to offer the plant enough space.
When choosing the potting soil, good potting soil enriched with a little sand, gravel, expanded clay or perlite is just the thing. A high-quality and compost-based potting soil like our Gardender organic potting soil gradually supplies nutrients without confronting the physalis with excessive nutrient concentrations.
Summary: growing physalis in pots or beds?
- In order for your plant to produce the most fruit, it is best to plant it in normal garden soil that has not been freshly fertilized.
- The best results are obtained in sandy, medium-nutrient-rich soils that are kept sufficiently moist.
- Choose the most suitable form of cultivation for your circumstances: in a bed for annual cultivation, in a pot for frost-free wintering of the plant.
Tip: Physalis, which are cultivated in pots for several years, need annual fertilization despite their rather low nutrient requirements, because the reserves in a planter are very small. A slow-acting, primarily organic fertilizer is ideal for this. This is simply sprinkled on top of the earth, worked in with a sheaf and then covered with some fresh earth.
Sowing or planting physalis?
The question of whether to sow or plant is primarily a question of cost, as seeds are significantly cheaper than young plants. It is also to be considered that plants from seeds do not begin to bear fruit until September, because they are adapted to longer vegetation phases than prevail in this country. Those who plant out plants from cuttings or purchased or overwintered plants towards mid-May, on the other hand, have about four weeks more time to harvest and thus more of their physalis. The multi-year cultivation with the wintering of the Physalis is also a worthwhile undertaking.
You might so like: Pineapple: Everything About Cultivation, Care And Harvest
Sow physalis
You can then start sowing the seeds in January. For cultivation, you need a substrate that is as low in nutrients as possible, which enables the roots to develop well. For this, you can use high-quality and loose cultivation soil.
Tip: The seeds can either be bought at the nursery or on the Internet. But it is also possible to obtain these yourself by removing them from the pulp. These should be dried very well and, for example, spread on a piece of butter paper or a kitchen roll and placed in the sun. The seeds can then overwinter in a can until January when they are needed again. Be careful not to get too much moisture, or the seeds could easily go moldy.
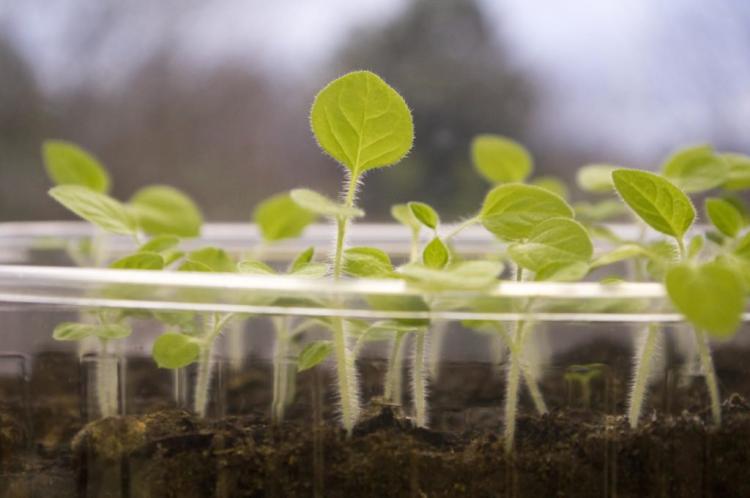
Fill the growing pots or the pot with substrate and sprinkle three seeds evenly into the pots with a planting distance of about 5 cm. You should only cover the seeds thinly with soil and press them down evenly. Then the pots are watered. Be careful not to wash the seeds away. A small spray bottle is best for this.
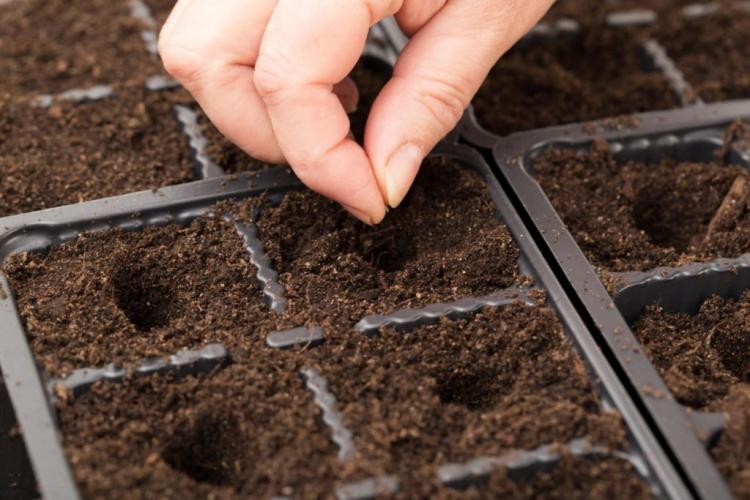
Now you should place the prepared seed trays in a light, 20 – 24 ° C warm place – preferably in a small greenhouse. This protects the sensitive germinating seeds from drying out. However, the seed trays should only be left in the greenhouse until the first seedlings emerge.
To avoid fungal diseases, you should get the seedlings out of the nursery as soon as possible. If the place where you have placed the growing containers is too dark, you can make do with a plant light. As soon as the weather conditions outside allow it, i.e. as soon as the temperatures rise above 10 ° C, the plants can be placed outdoors individually and during the day.
If the plants in the small pots are too cramped or if they already have some green leaves, they are transplanted into more nutrient-rich soil. Here, too, this must be made more permeable with a little sand, perlite, or expanded clay.
Plant physalis
No late frosts are to be expected from mid-May, so it is time to plant out the physalis – both self-grown and purchased plants: You should choose a sunny, sheltered location, preferably near a wall, which will store the heat and leave it on overnight the plant can give off. Dig a hole about five to ten centimeters larger than the pot on each side. Mix heavy clay and loam soils with gravel or sand to ensure that the soil is well aerated. Very light soils can of course also be improved with a little potting soil to increase the water retention capacity a little.
Then the physalis is used and the rest is filled with the mixed soil. Now press the fresh soil into place and water the bushes properly. When planting, there should be a distance of about half a meter between the individual plants to ensure good air circulation between them. If you want to plant the plant in a pot, you should also mix the potting soil with sand, expanded clay, perlite or gravel. A sunny and protected location near a wall is also ideal for physalis in pots.
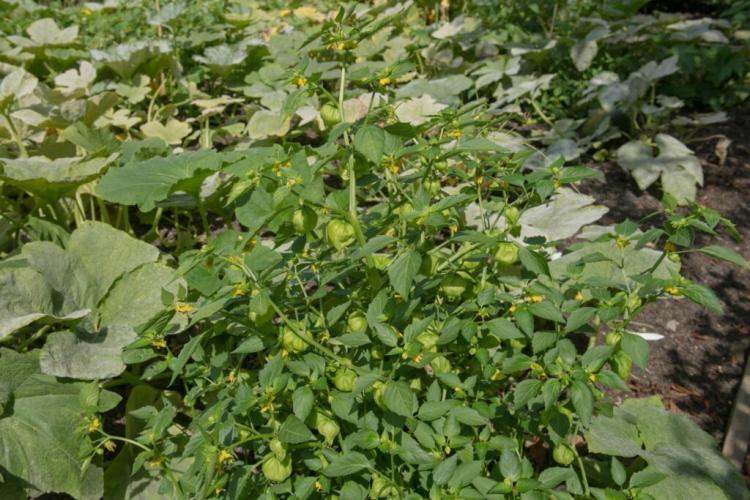
Tip: Like tomatoes, physalis is not woody, herbaceous plants. You therefore benefit greatly from a connection, for example from a frame made of wood or metal all around. This means that the plant will fall apart less and the thin branches will not break off as easily.
Procedure for planting physalis:
- Dig a hole: Larger than the root ball
- Loosen the soil and improve it with sand (heavy soils) or potting soil (light soils)
- Insert physalis
- Top up with mixed soil
- Press down thoroughly and evenly
- Pour abundantly
- Set up a scaffold for connection and attach plants
Tip: Although it is not frost-hardy, the Physalis can be overwintered frost-free and thus provides even more abundant yields over several years. To do this, it must be put in a bucket in October, before the frost, in a cool and rather dark place about 10 ° C. It will not be wintered again until spring. A cut at this point ensures that the plant branches out bushily.
Good neighbors for the physalis
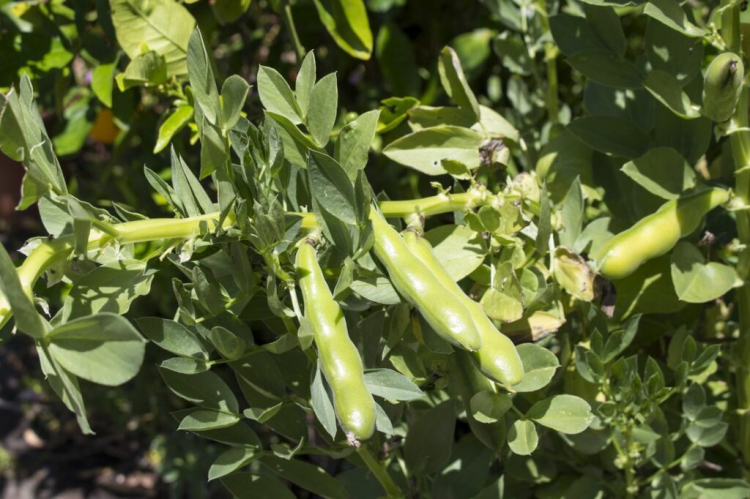
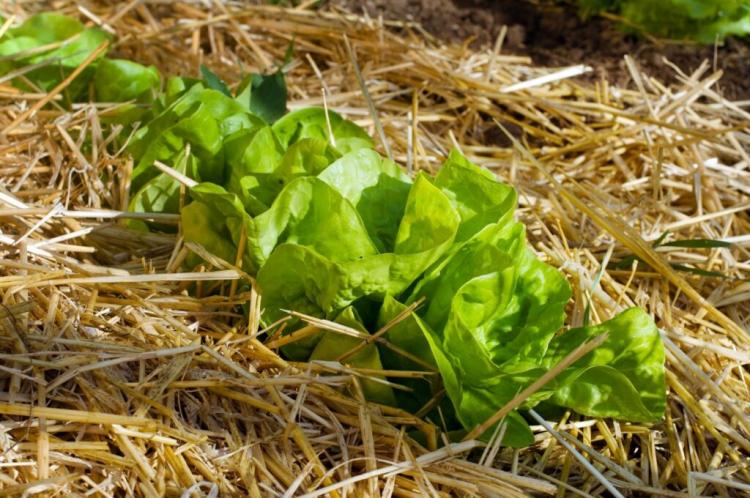
If the Physalis is planted as a mixed culture, good neighbors should be ensured. It gets along especially well with less nutrient-hungry vegetables. These include lamb’s lettuce ( Valerianella locusta ), beans ( Phaseolus vulgaris ), spinach ( Spinacia oleracea ), lettuce ( Lactuca sativa ), onion family ( Allium sp.) And cabbage ( Brassica sp.), As well as strawberries ( Fragaria x ananassa ). Marigolds ( Calendula officinalis ) keep nematodes in the ground away.
Bad neighbors for the nightshade family, on the other hand, are their heavily consuming relatives, such as potatoes ( Solanum tuberosum ), aubergines ( Solanum melongena ), peppers ( Capsicum annuum ), and tomatoes ( Solanum Lycopersicum ). There is a risk here of disease being transmitted and too many nutrients being extracted from the soil, which can lead to soil leaching.
You can find more information about caring for the physalis here in our special article.
