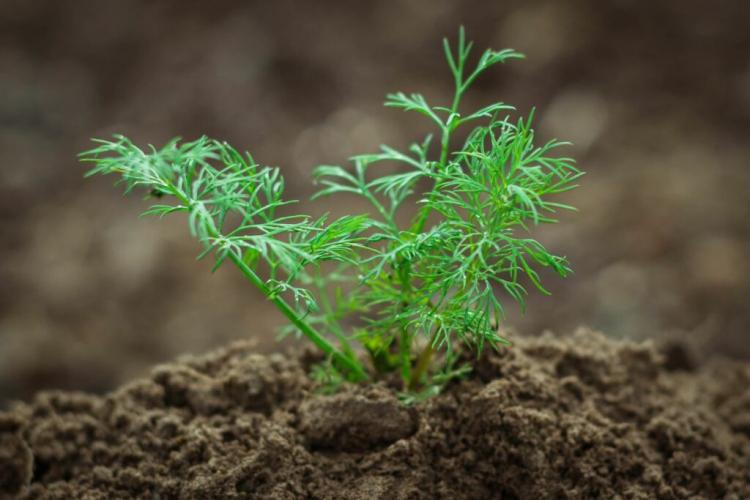
Growing Dill: The Cucumber Herb From Your Garden
Dill is popular with fish dishes and pickles. Here you can find out what to consider when growing the cucumber herb in a bed or pot.
Dill ( Anethum graveolens ) has a long tradition of cultivation and use as a spice and also as a medicinal plant. The umbelliferae (Apiaceae ), which originate from North Africa and the Middle East, were used and cultivated in Europe for the refinement of dishes over 5000 years ago. Not only the tender shoot tips can be used in the kitchen. If the annual plant is allowed to bloom, the disinfecting dill oil can be obtained from the seeds of the dill. But before you get that far in cultivation, there are a few things to consider.
Growing dill – step by step
- Location: You can grow dill both in the bed and in the pot. No matter which variant you choose, the cucumber herb always prefers a sunny spot. However, the soil should not be too compact and wet. When growing in the garden bed, loamy soil with a certain amount of sand or gravel is, therefore, advantageous for drainage.
- A loose, permeable substrate should be chosen in the pot, which nevertheless has a certain water holding power. The Plantura organic herb & sowing soil is ideal for this. The vessel should also be high enough. Dill forms a deep taproot. You should also pay attention to this when choosing the variety. As a rule, it is expressly pointed out when a type of dill is particularly suitable for pot culture. Due to some diseases, it is advisable not to grow dill in the same location year after year. A break from the cultivation of four years is recommended so as not to give the annoying soil diseases a chance.
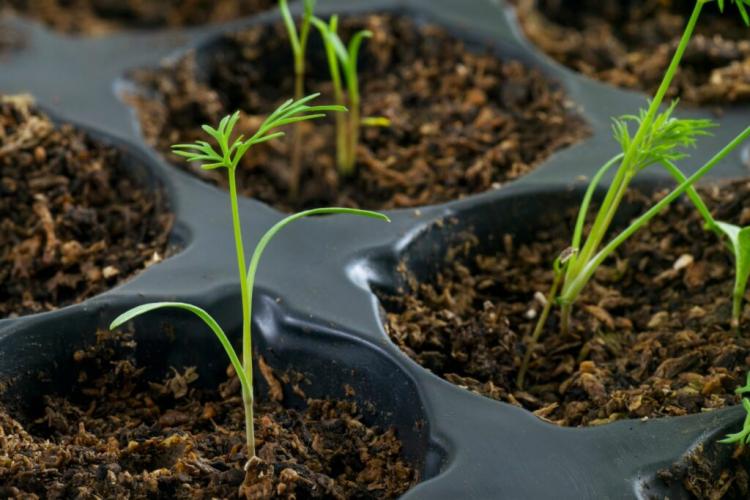
- Propagation: Dill is propagated exclusively by sowing. The seeds can be applied directly outdoors from April onwards. From March onwards, young plants can also be preferred indoors and planted out with a growth lead from May onwards. The germination process of the annual herb takes about three weeks at temperatures around 15 ° C. Although the dill is a light germinator, the seeds in the open field should be covered with a thin layer of the substrate to protect them from the wind in the open field. Also, do not place the seeds too close together. In this way, you can save yourself the work step of thinning out seedlings that are too close together.
- Watering and fertilizing: Dill doesn’t like it when the moisture level at its roots is too changeable. If the plant is watered too much, a fungal attack will not belong in coming. And a constant interplay between the desert and wet bog is not conducive to the successful cultivation of the cucumber herb. It is therefore advisable to have an even and rather restrained supply of water. When it comes to nutrients, dill is very frugal. It is therefore sufficient to fertilize the plants once a year, for example with the Plantura organic universal fertilizer.
- Care: Actually, there is not much to consider when caring for the dill. But a few nasty plant diseases and pests can thwart the plan. Viruses can lead to stunted growth. The infested plants can only be removed from the stand with great care, if possible without touching other plants with the sick. In the root space, there are harmful nematode species and above-ground leaf miners and aphids are animal pests. Unwanted nematodes are difficult to control. In addition to chemical agents, the use of beneficial insects against colleagues on the earth’s surface can be useful. So you don’t have to worry about the harvest due to pesticide residues. Immediately after the seeds germinate, the so-called emergence disease can massively decimate the population. Several mushrooms cause the small plants to suddenly fall over. Here, too, only sorting out and hygiene or an attempt to see whether pesticides can still save the unaffected seedlings can help. After the seedlings have survived the critical time and are growing, they can still be haunted and stretched by representatives of the fungal genus Fusarium. These nasty soil dwellers are also the reason why you shouldn’t grow dill in the same spot next year.
Since the seedlings of the dill develop very slowly, the removal of wild herbs is the order of the day. This is necessary so that they don’t overgrow the dill and steal nutrients and water. - Harvest: The young, fresh shoot tips of the dill are harvested. Harvesting can be carried out continuously during cultivation. If the plant has reached a size of 30 cm, it is advisable to harvest and process the entire plant before flowering. However, the dill can also be brought to bloom, which appears between May and October, depending on the sowing date. Dill seeds themselves on-site and would grow back in place next year. And the seeds and inflorescences are also used in some cases (see: Harvesting, Storage, and Use of Dill).
- Storage: The greatest aroma yield is also obtained with dill when it is used directly, freshly harvested. When stored around freezing point and relatively high humidity, dill stays fresh for up to three weeks without any loss of flavor. However, like any other herb, the tips can be dried and made durable. It is also possible to freeze the freshly harvested tender shoots directly and remove them all year round as required.
Are you also an avid hobby dill grower? Then share your experience with us!
You might so like: