Bromeliads: Care, Location And The Most Beautiful Bromeliads Species
Bromeliads are tropical plants that are very popular as indoor plants, especially because of their colorful leaves. Some representatives even get by without roots and can be cultivated in pebbles.
The bromeliad family (Bromeliaceae) includes many species in different shapes and colors. We present the most beautiful ones and show what is important when choosing a location and caring for the bromeliad houseplants. You’ll also learn how apples can help bloom.
Bromeliads: flowering, origin, and characteristics
Table of Contents
The bromeliad plants (Bromeliaceae) are a family of plants to which – depending on the system – at least 2100 different species belong. They are evergreen, herbaceous and perennial plants. In nature, most bromeliads are found in the rainforest, more precisely in the tropical and subtropical regions of South and Central America, where they are native.
Some species also prefer higher mountain regions. In the forests, some species grow terrestrially on the ground, but most of them grow epiphytically on trees. Here the bromeliads benefit from sunlight, which can barely reach the rainforest floor. Bromeliads usually grow in rosettes and catch the rainwater with their funnel-shaped leaves. Dead leaves or bird droppings can also collect in the plant and provide nutrients to the bromeliad.
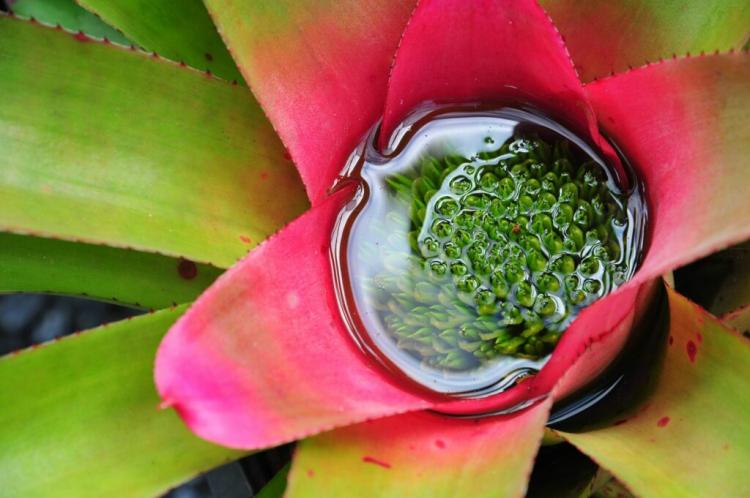
Some bromeliads even provide a habitat for aquatic plants and frogs with their leaf funnels. With their roots, the bromeliads find a hold in the ground or on branches without harming the trees. Bromeliads are plants that can often be kept indoors. They are available in a wide variety of colors. The conspicuous leaves are not, however, the flower, but colored bracts.
You might so like: Ficus Ginseng: Planting And Caring For The Chinese Fig
The flower itself is rather inconspicuous and shaped like panicles, grapes, or ears. The flowering of the bromeliad can last for several months. However, once it has flowered, the plant dies. However, daughter plants have formed during this time, which can now be cared for. The best-known bromeliad is the pineapple, which is why the plant family is also known as the pineapple family.
Tip: With a little luck, pineapple can also grow into a plant. Simply cut off the green stalk from the fruit, let it dry for a day, and plant it in a pot of soil.
The most beautiful bromeliad genera
There are numerous bromeliad genera, species, and varieties that look different and can sometimes be kept as houseplants. We introduce you to the most beautiful bromeliads.
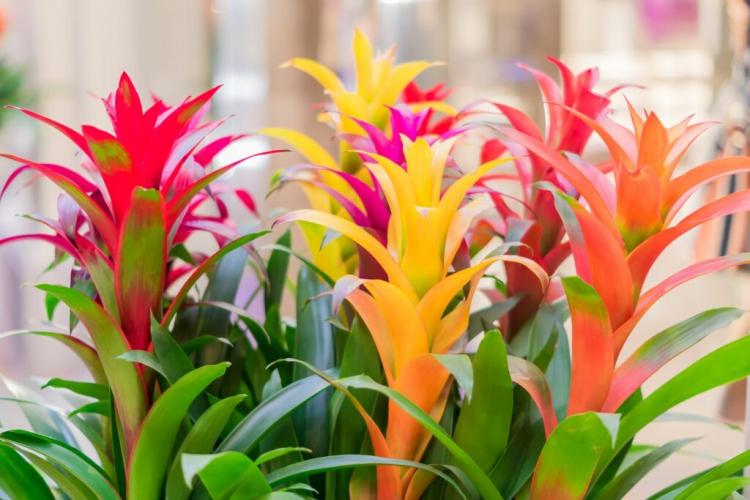
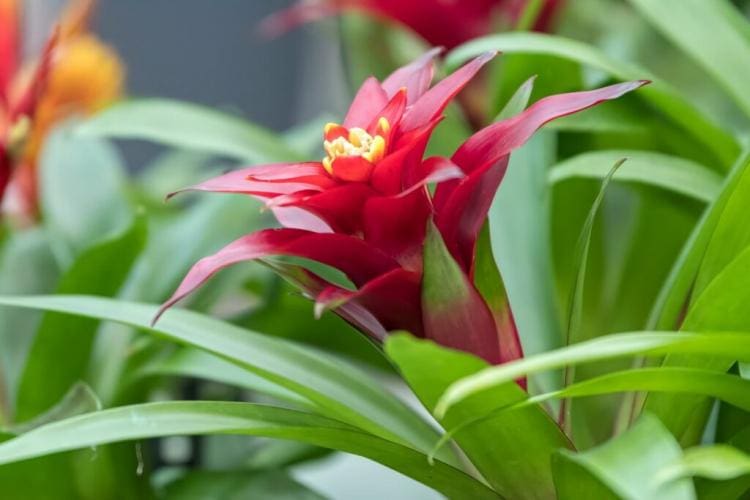
- Genus Guzmania: This is a genus of plants within the bromeliad family that is particularly popular as an indoor plant. There are different types of Guzmania in colors from bright red to yellow to purple or white. Even two-tone bracts are possible. The genus grows epiphytically in nature, i.e. as a non-parasitic epiphyte on trees.
- Genus Aechmea: The genus Aechmea is not only available in different colors, but also with light patterns on its tapering leaves. Because of its leaves, it is sometimes referred to as a lance rosette. Here, too, most of the species are epiphytes, i.e. epiphytes.
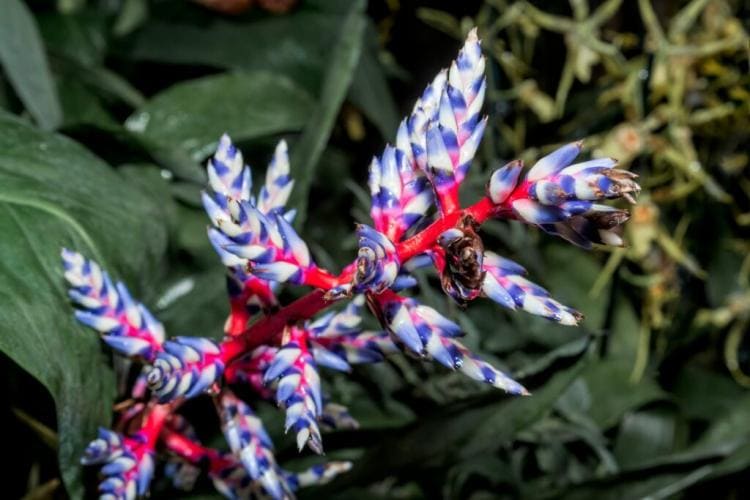
There are also varieties of the genus Aechmea, here for example the variety ‘Blue Rain’
- Genus Vriesea: Because of its interesting bracts, this epiphytic bromeliad genus is also known as the “flaming sword”. There are varieties in different colors. The bracts appear like flat ears and are reminiscent of a sword in their shape.
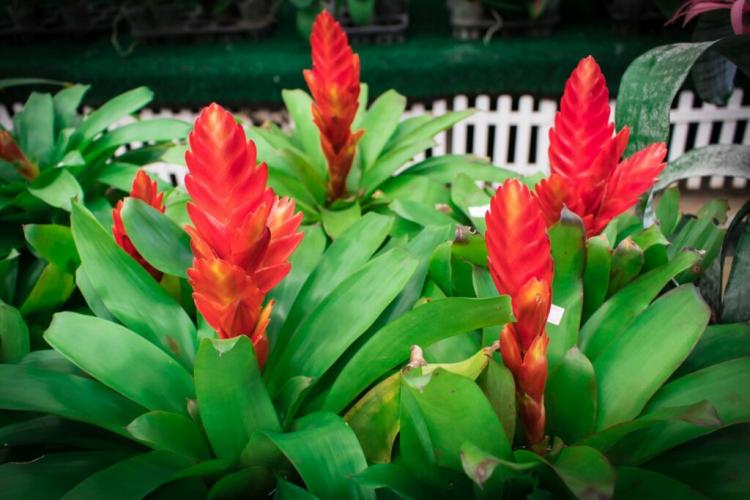
This genus is also known as the “flaming sword”
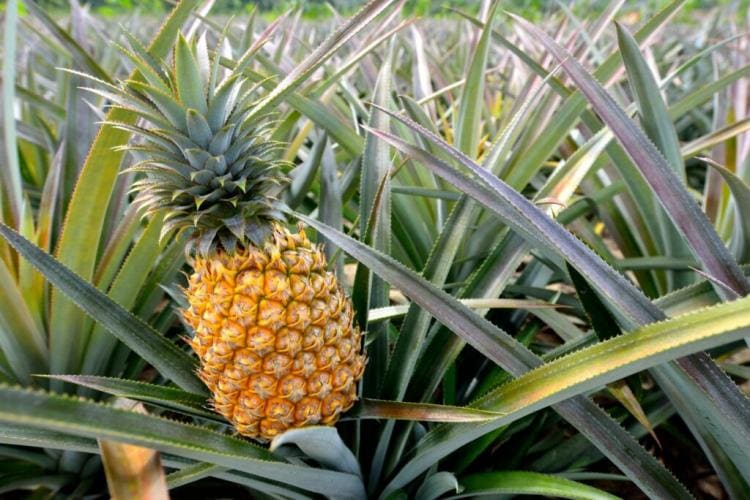
- Genus pineapple: This is probably the best-known genus of the bromeliad family and is also available as a houseplant. The genus forms fruits, which however remain quite small and are more suitable for decoration than for consumption. The plants belong to the terrestrial bromeliads, so they grow on the ground and not on trees.
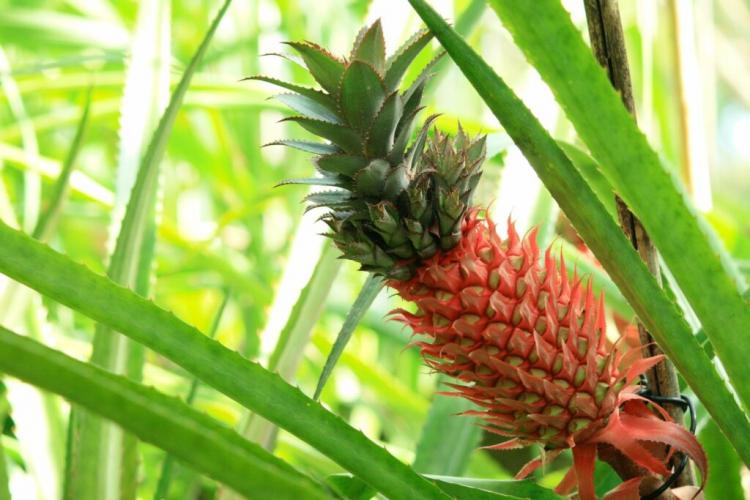
The pineapple is world-famous
- Genus Tillandsia: Within this genus, there are the gray and green Tillandsia. The gray species tend to be found in dry areas and grow epiphytically, while the green species prefer humid regions and grow on the ground. The leaves are usually narrow and pointed. Here, too, there are varieties with bracts in different colors.
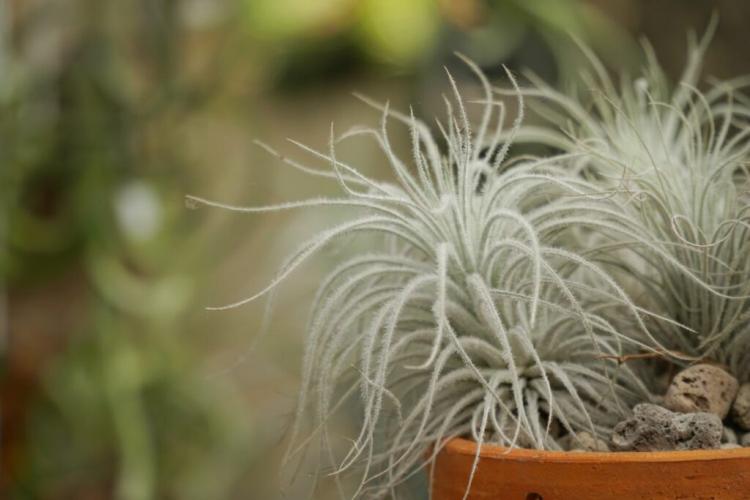
Tillandsia are available with gray or green leaves
You might so like: Pineapple: Everything About Cultivation, Care And Harvest
Plants: location, time, and procedure
The bromeliads as houseplants that can be purchased in stores are actually always forms that come from the tropics and require a suitable climate. It is therefore important to ensure that it is always warm, humid, and light.
The right location
A bright place without direct sunlight at lunchtime is, therefore, suitable as a location for the bromeliad. The weaker morning and evening sun, on the other hand, is good for the bromeliads and can stimulate flower formation. In contrast, gray tillandsias prefer a location in full sun. The temperature should be around 20 ° C or more at all times and not drop below 18 ° C.
Since high humidity is also important, bromeliads are good for bright bathrooms, for example. But keeping them in other rooms is also possible if you regularly spray the plant with water. Alternatively, you can place a bowl of water near the bromeliad or on top of the heater.
Tip: If it is warm enough in summer, bromeliads can also be outside. Then it must not be colder than 15 ° C at night. Or you can bring the plant back into the apartment in the evening.
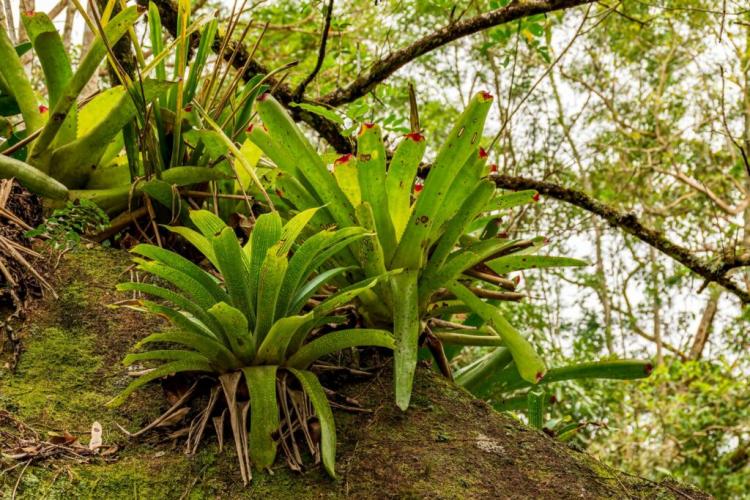
Bromeliads often grow perch on trees in the rainforest
The right substrate
Depending on whether bromeliads grow epiphytically or terrestrially, they need different substrates.
Epiphytic bromeliads sometimes hardly develop roots and absolutely need an airy substrate that gives them support but stores little water. A mixture of one part dried peat moss and two parts bark is suitable for this. It is even possible for some types of bromeliads to just keep them in stones.
Epiphytic bromeliads can also be kept very well in the terrarium. To do this, you should wrap the bromeliad with moss at the root to improve the supply of water. The whole thing can then be tied to a branch in the terrarium with the help of wire or a fishing line and should be well moistened. If there are holes or crevices in the branch, such places are of course also ideal to put the bromeliad in them. After about four weeks, roots should have formed. When these are long enough for the bromeliad to hold onto the branch by itself, you can remove the wire.
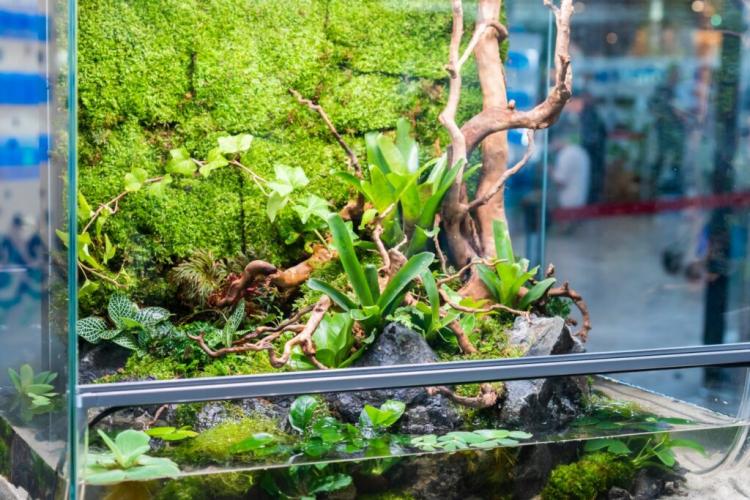
Bromeliads are also ideal for a tropical terrarium
The substrate for the terrestrial bromeliads must above all be permeable and slightly acidic. It is best to plant the bromeliad in acidic soil. For example, our Gardender organic acid soil is ideal with its low pH value of 4.6 – 5.4. It consists of natural raw materials and is therefore not only environmentally friendly but also harmless to animals. For even better permeability, you can mix the acidic potting soil with sand and pine bark of size 7 – 15 mm in a ratio of 2: 1: 2 and thus offer the bromeliad optimal conditions.
Care of bromeliads
Watering is particularly interesting when it comes to bromeliad care, here you should keep the natural water supply from the rainwater in the back of your mind. As long as the humidity is high enough, not much can go wrong with bromeliad care.
Water, fertilize and cut bromeliads
Watering: In the rainforests, the bromeliads absorb rainwater with their funnel-shaped leaves. Even with indoor bromeliads, low-lime, room-warm, and ideally rainwater should be used. The water is then poured directly into the leaf funnel and completely changed once a month. How often to water the bromeliad depends on the species and location. More water is needed in summer than in winter.
In addition, the substrate should also be kept moist. If the bromeliad grows without a substrate, it only needs to be sprayed regularly with water. This should happen every day in summer, less often in winter, around once a week. Terrestrial species are poured directly into the substrate.
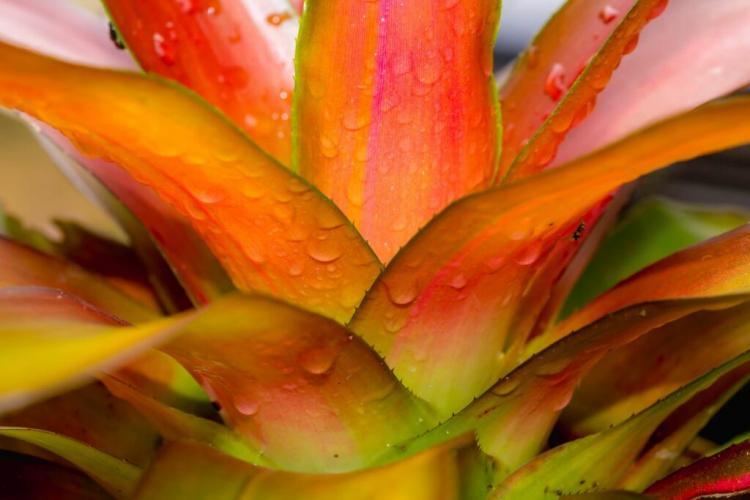
In bromeliads, water is usually absorbed through the leaves
Fertilizing: To fertilize bromeliads, liquid fertilizer is suitable, which can be administered for each species via irrigation water. An organic choice is, for example, our Gardender organic indoor and green plant fertilizer, which consists of natural raw materials and supports leaf and root growth. Since bromeliads do not have a high nutritional requirement, you should only fertilize in half the concentration.
In the summer months, fertilizer can be applied about every two weeks. Tillandsia and tied bromeliads require fewer nutrients. Here, fertilization every four weeks is sufficient, with a fertilizer dosage of 25%.
Cutting: The bromeliad does not need to be cut back. Even dried-up leaves are best left standing and waiting until they are thrown off.
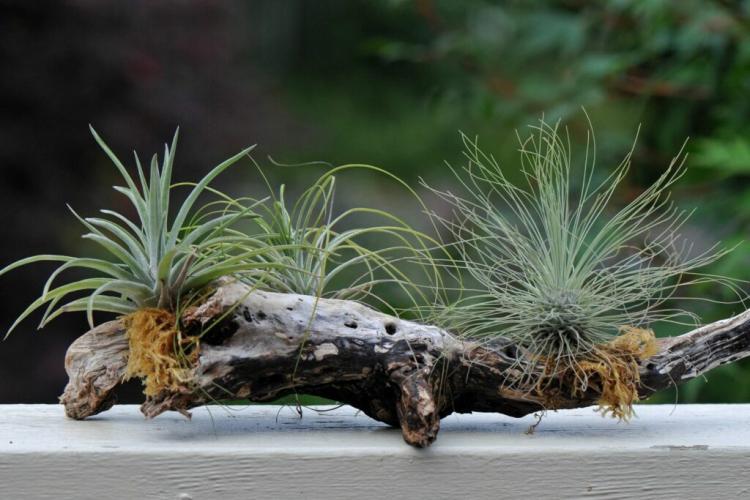
Epiphytic species can grow just on a tree trunk
Bring bromeliads to bloom
There is a simple trick on how to make bromeliads bloom. The formation of flowers is stimulated by the gas ethylene, which is also given off by some ripening fruits.
- Place an apple or banana in or next to the bromeliad pot.
- The location should be as bright and warm as possible.
- Cover the whole thing with a glass or a plastic bag to speed up the process.
- After about three weeks, the apple and bag can be removed.
- Now care for the plant as before, with enough water, humidity, and occasional fertilizers.
- Flowers should start to develop after about two months.
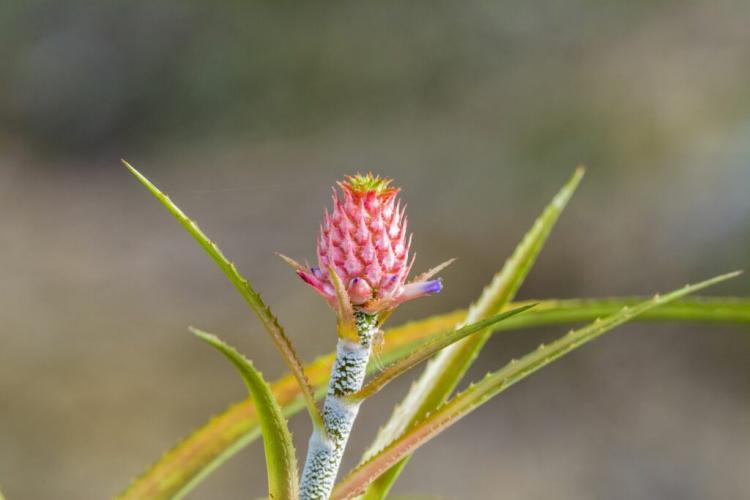
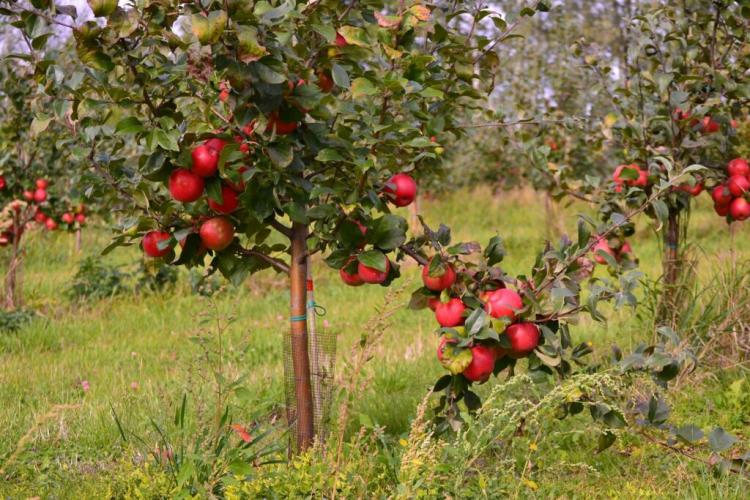
Apples can help stimulate flower formation
Bromeliad has faded: care about flowering
If the bromeliad has faded, it should never be disposed of immediately if you want to continue enjoying the plant. During the withering away, small nocturnal comings are formed at the base that requires further care. Water and fertilize the mother plant as usual until the Kindel – as the daughter plants are called – are big enough to stand in their own pot. To learn how to separate the Kindel from the plant, see the Bromeliad Propagation section below. The wilted mother plant can be disposed of, the children are planted and now cared for like full-grown bromeliads.
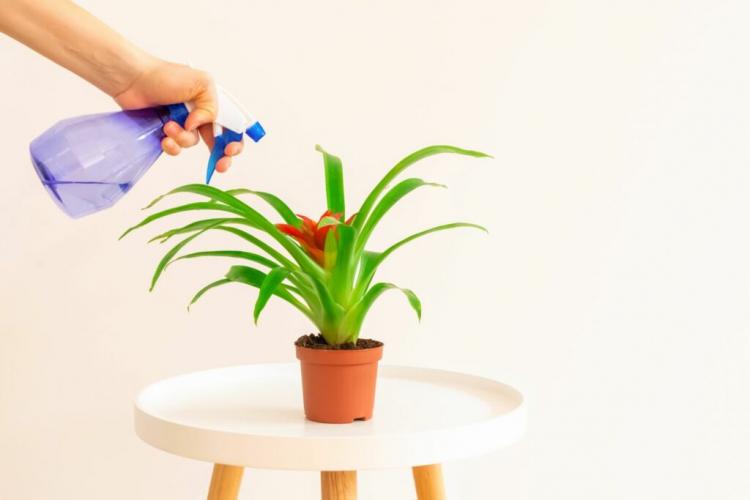
Spray their bromeliads with water to increase the humidity
Repot properly
When bromeliads get too big to fit in or lose their hold, it’s time to repot. This is best done in spring, just before the onset of the growing season. A larger vessel is simply chosen for this, which, depending on the type, is filled with a layer of pottery shards and then with a layer of suitable substrate. Now the plant is inserted and the gaps are filled with substrate. The whole thing is pressed lightly to give the plant a hold. Even after the purchase, bromeliads should be repotted immediately, as the original substrate is often not suitable for the long term.
Tie up bromeliads
If you’ve chosen an epiphytic bromeliad species, the plant doesn’t necessarily need substrate. It can also be tied to a branch, for example in a terrarium. Find out how to untie the bromeliad below:
- Wrap the base of the bromeliad in moss.
- Secure the whole thing with wire or fishing line.
- Stick the bromeliad in a knot or crevice, or simply tie the plant to the branch with the wire.
- Moisten the moss sufficiently and maintain the epiphytic bromeliad as usual.
- When the roots are developed so that the bromeliad can hold on to itself, the wire is removed.
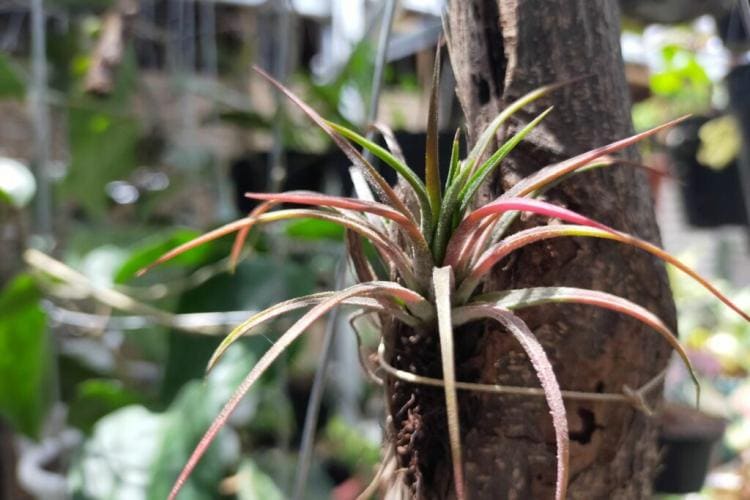
Tied bromeliads can at some point hold onto the bark by themselves
Are bromeliads hardy?
Bromeliads are not hardy. They need temperatures above 14 ° C in winter so that they do not die. Between October and March, they are in a resting phase. This means that growth will largely cease. This means you don’t have to water as much in winter and there is no need for fertilizers.
Propagate bromeliads
Bromeliad offshoots
There is a very simple way to propagate bromeliads. After flowering, bromeliads form offshoots, also known as kindles. These can easily be used to propagate the plant. Until the children have reached a size of about 10 cm, the mother plant should be cared for as usual. If the cuttings are large enough, they can be separated from the mother plant with a sharp knife.
Then the bromeliad trees are planted in separate pots with a suitable substrate and placed in a bright and warm place. To improve the humidity and thus the growing conditions at the beginning, put a glass or a plastic bag over the plant. It is poured and fertilized as with adult specimens. If the child forms new leaves, the reproduction was successful and the bag can be removed.
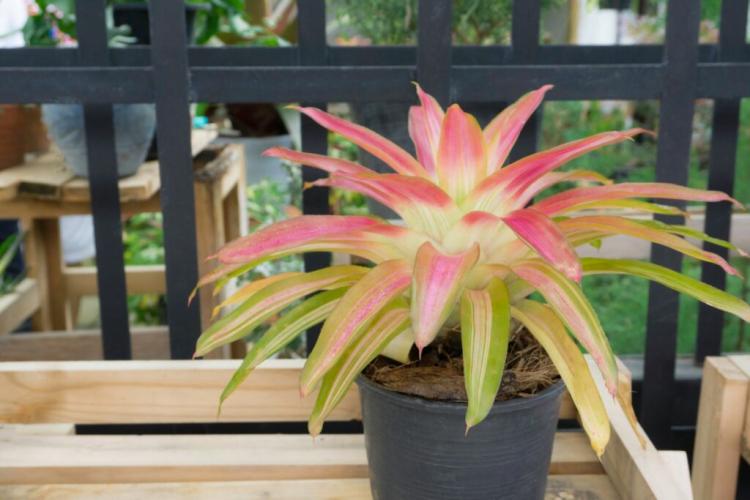
Bromeliads can also spend the summer outside if it’s warm enough
Propagation via seeds
Propagation via seeds is not always successful with bromeliads. The seeds need constant temperatures of around 25 ° C and a light place to germinate. The seeds are light germs and must therefore not be covered with the substrate. The substrate can, for example, be a mixture of sphagnum moss and the expanded clay mineral vermiculite, which is well moistened. The seeds are spread out on it in spring and lightly pressed. Now cover the whole thing with cling film to increase the humidity.
Germination can start after around 14 days. However, the foil cover should be kept until a few leaves have formed. The small plants can then be hardened gradually. This means that they get used to lower humidity and eventually repotted. For this purpose, the cling film should be aired every hour in the beginning. The phases without a cover can then become longer and longer until the seedlings have finally got used to the lower humidity in the room.
Are Bromeliads Poisonous?
Except for unripe pineapples, bromeliads are not poisonous. Only the pointed leaves can pose a small danger to children and pets. Most orchids also grow epiphytically and are propagated by Kindel. In our video tutorial, you will learn how to propagate orchids.
