Hyssop Propagate And Maintain
Hyssop can be used in many ways and will adorn every garden with a long-lasting bloom. There are many reasons to take good care of it and reproduce it yourself.

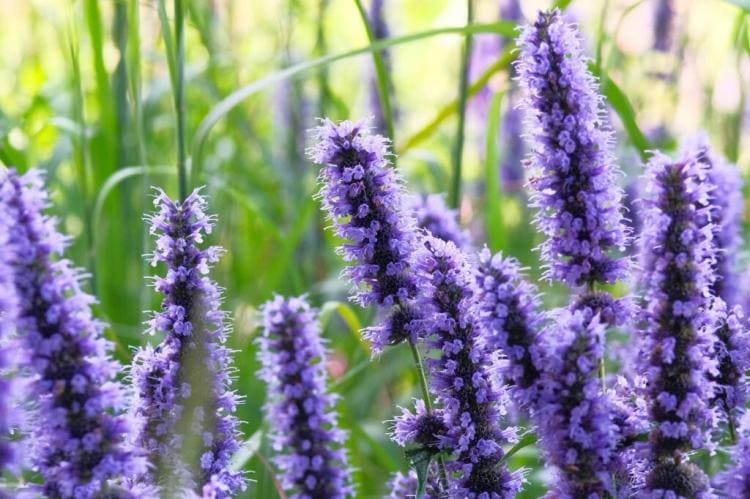
The violet-blue blossom of hyssop is a special eye-catcher in the herb bed [Photo: Ga_Na / Shutterstock.com]
Propagate hyssop: sowing, cutting or dividing
Table of Contents
Of course, you can buy ready-made hyssop plants ( Hyssopus officinalis ) from specialist gardeners. However, you can enjoy what grows in your own garden or on the balcony even more if you have raised and even propagated it yourself from the start. You can simply multiply the hyssop yourself. There are also several options for this:
sowing
If you have harvested the seeds of the previous year's flower or bought hyssop seeds, you should not hesitate to propagate the spice yourself by sowing it. However, the seeds should not be sown outdoors before the beginning of May. In the house, you can start pre-breeding in mid-March and plant starched young plants out in mid-May. Hyssop is a light germ, which is why the seed should not be covered with a substrate layer that protects against drying out during germination. A high-quality potting soil such as our peat-free Plantura organic herb and seed soil is best suited as a substrate.
Cuttings
In spring or early summer, cuttings can be taken from a hyssop plant and quickly rooted. The cuttings should be about 5 cm long. A flower or flower bud is ideally not yet to be seen – so all power goes into the production of the roots and not into the flower formation. It is best to use a special propagation substrate for cuttings and maintain a high level of humidity as long as the cuttings have not yet developed roots. This is easy to achieve with a seed tray with a clear cover, which is available at any hardware store. As soon as the first roots form, the sensitive cuttings are accustomed to “normal” air by gradually removing the cover longer and longer.

Many an insect is attracted by the flower [Photo: Kwanjitr / Shutterstock.com]
Sinker
Some herbs can be propagated simply by dividing. However, this method is not suitable for hyssop because it is a subshrub. It is practically impossible to cut through the woody base of the hyssop without endangering the spicy plant. However, the hyssop can be propagated using sinkers. To do this, a shoot that is relatively strong, but still flexible, is bent down so that it has contact with the ground. There the branch is fixed with a piece of thick wire or a peg, for example, and earth is piled up. The tip of the shoot, however, looks straight out of the ground. Roots are then formed at the point in contact with the ground. After a while, the lowered shoot can be separated from the mother plant and moved in the garden or in a planter.
Maintaining hyssop: cutting and wintering
If the hyssop is not cut regularly in your own garden, the subshrub will lose its shape and attractiveness. The shoots become long and bare and increasingly lignified. To make matters worse, it is not allowed to cut into the woody part of the plant, as the hyssop can no longer sprout from here. It is therefore advisable to shorten the unwooded part regularly and to keep the hyssop in check and shape.
It can be cut in autumn, but then sensitive cut surfaces are created, into which frost can move in during severe winters and cause damage. Therefore it is better to cut the hyssop in the spring before new growth and to shorten it to just above the woody part of the plant. This also promotes the branching of the spicy subshrub and thus also increases the yield of the harvest.
In our special article, you can find out what you should consider when it comes to the hopefully large hyssop harvest.